Get started with Instatus
Get ready for downtime. Instatus helps you monitor your services, fix incidents with your team, and share your status with customers.
- Monitoring: Be the first to know when there's an outage! Set up alerts, and take actions quickly to avoid downtime.
- Incident response: Fix incidents with your team! Set up on-call schedules to notify the right person. Manage incidents from our dashboard, Slack and more!
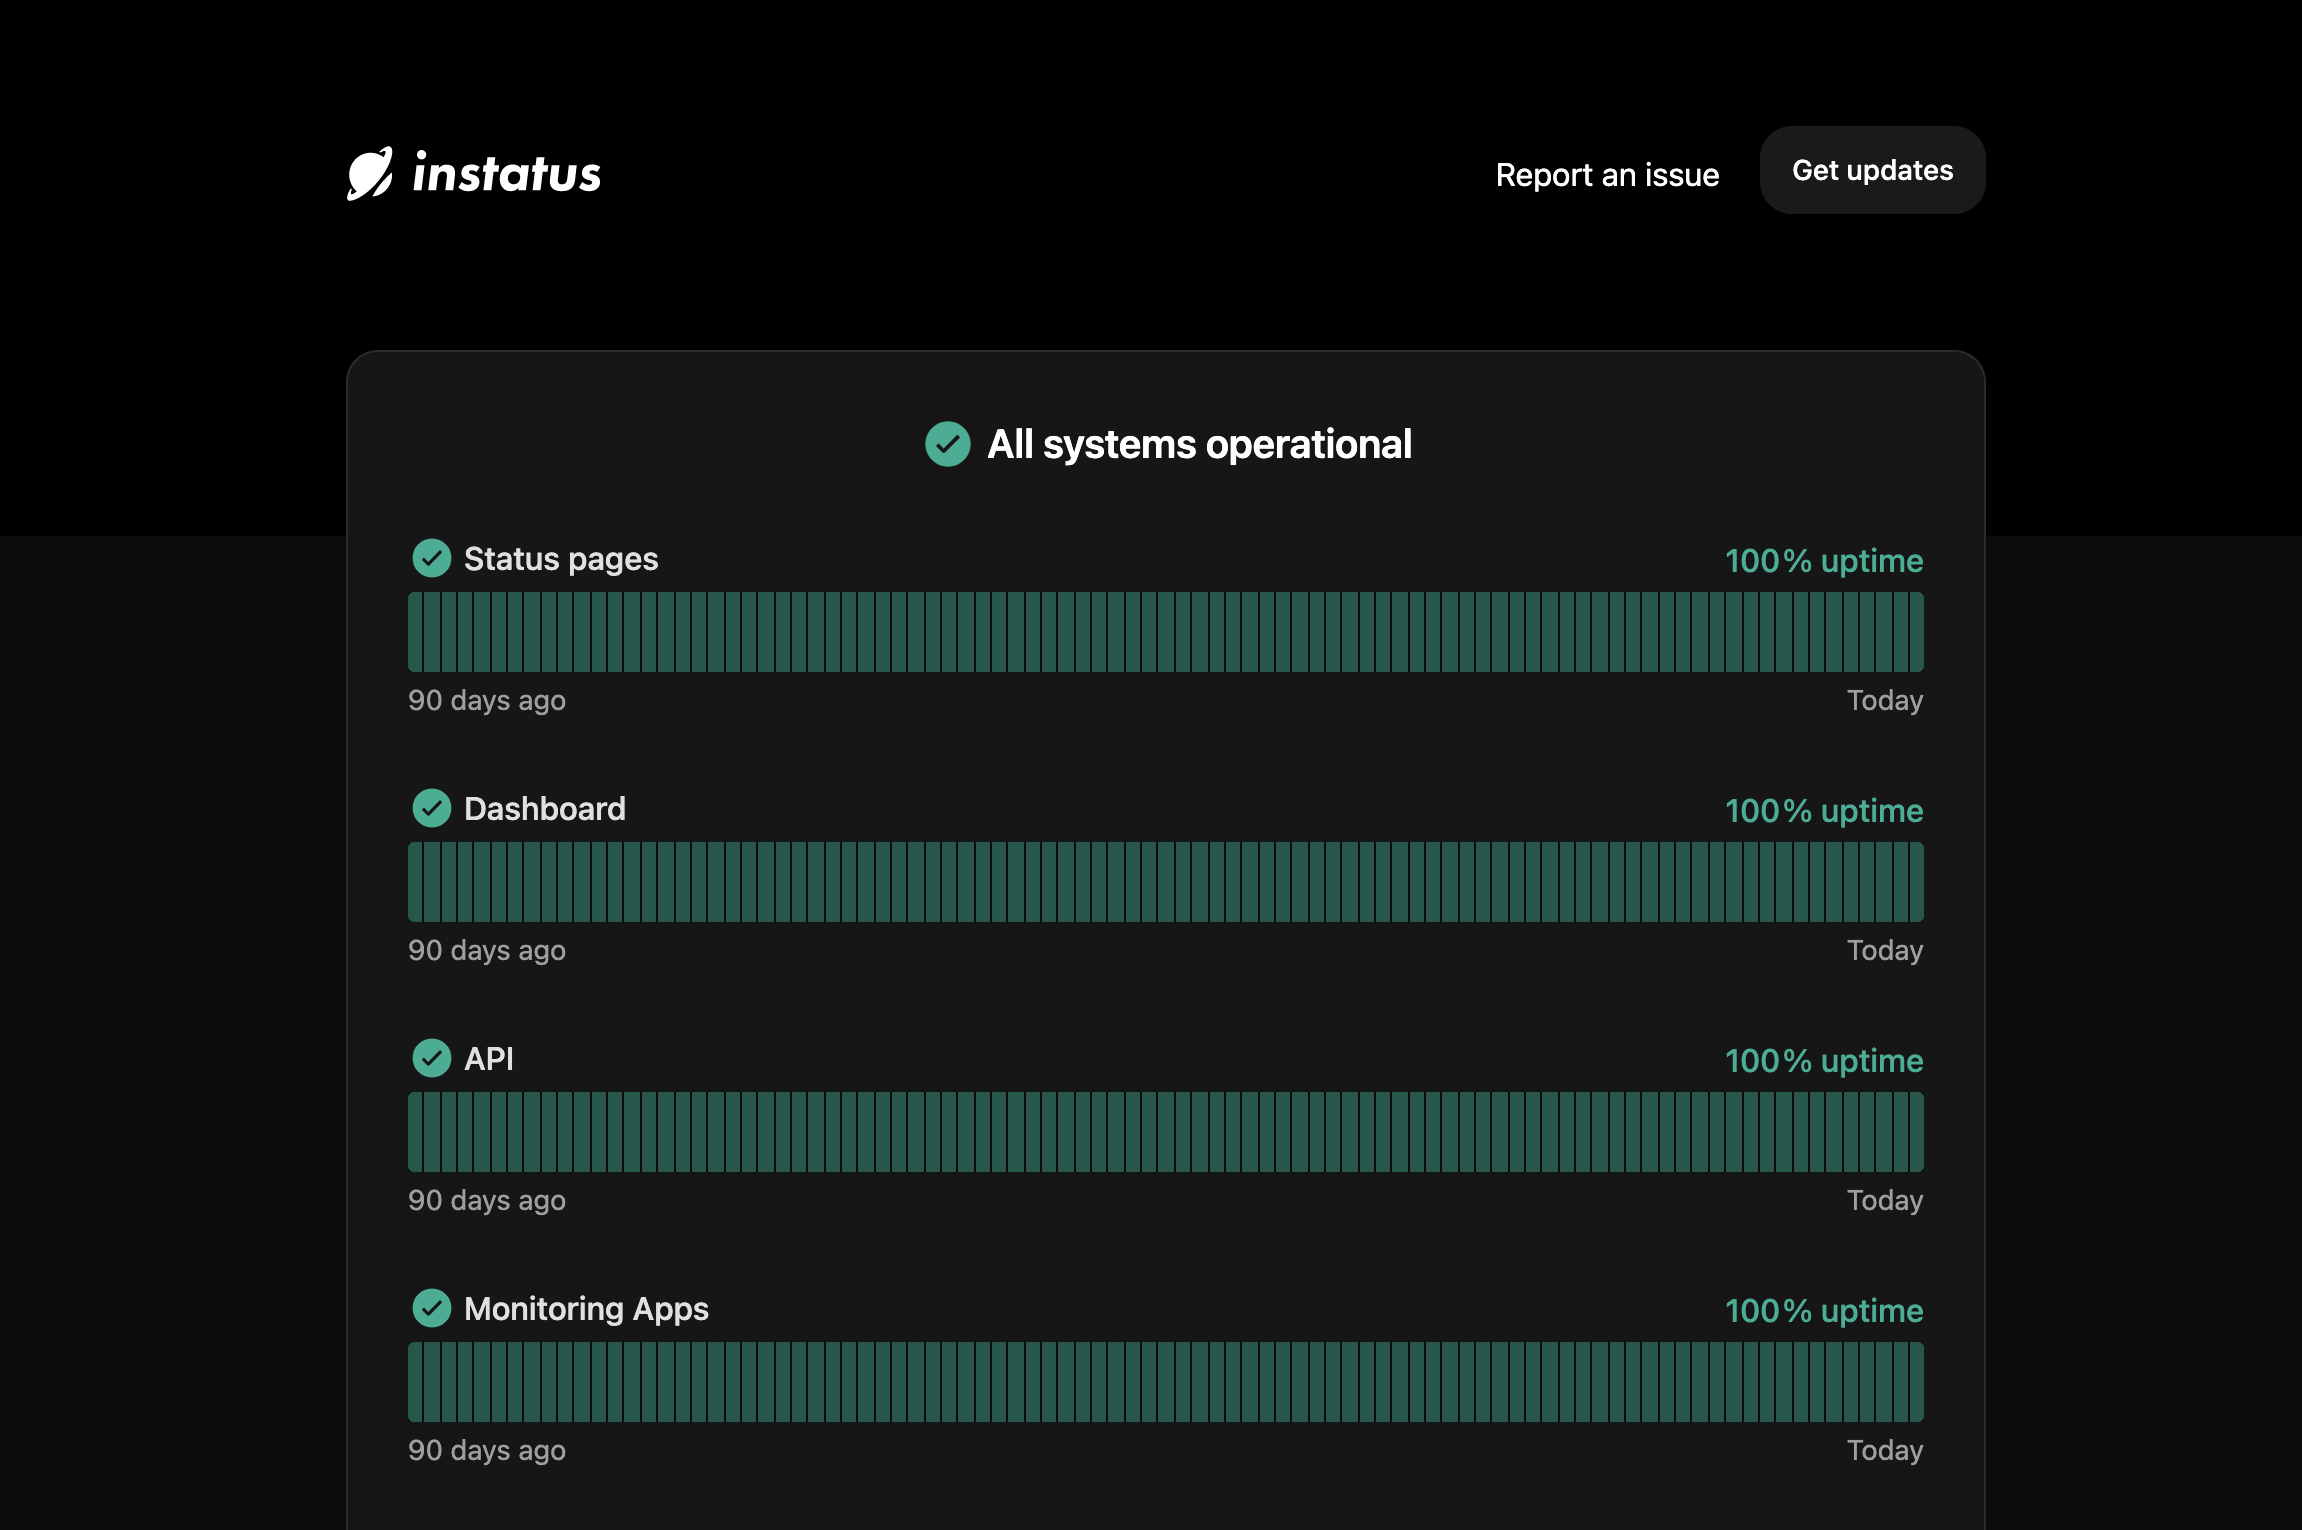
- Status pages: Create one place for your customers to check your current status and subscribe to updates. Be proactive and build trust.
Here's the whole setup, start to finish. Each step is broken out below.
Sign up to Instatus
Go to Instatus and click Sign up.
Add your email address, and you'll get a magic link to verify your account.
You can also sign up with Google.
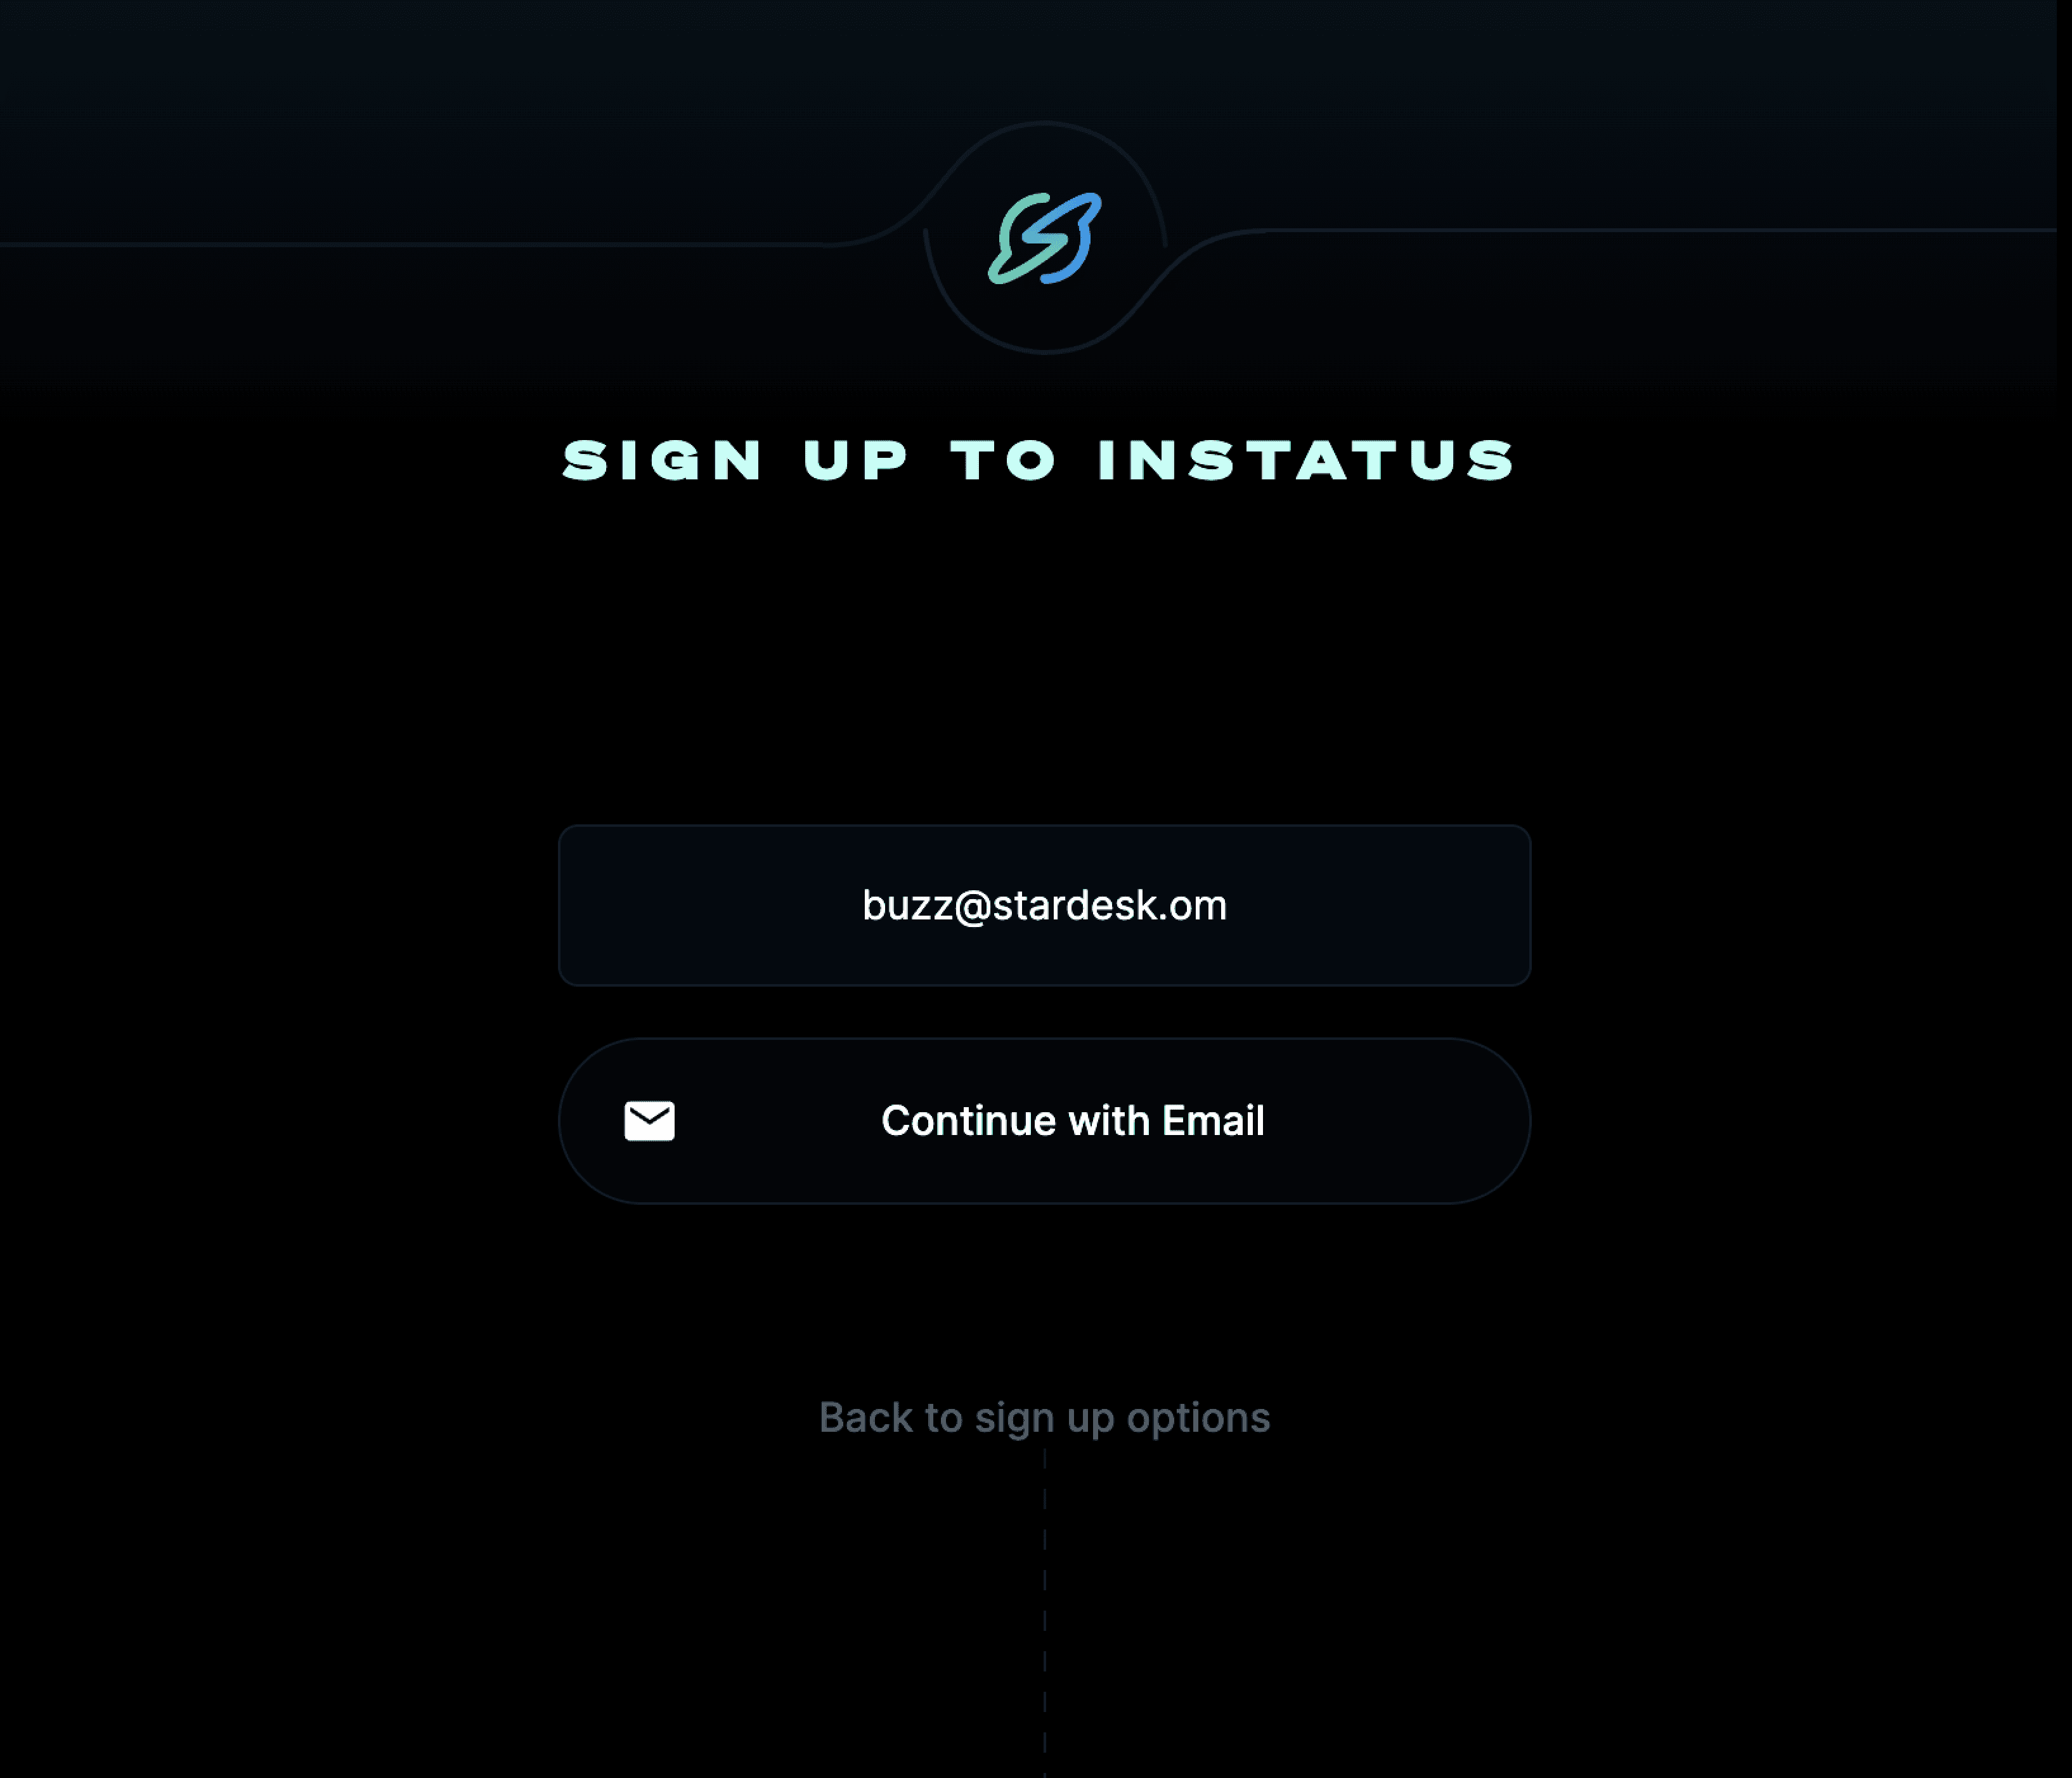
Then you'll add your name and the products you're interested in. We support:
- Uptime monitoring
- Incident response
- Status page
1. Add your first monitor
Choose a monitor type, and add your website. Let's put orbitid.com as an example.
Then, run the monitor to check if it's successful. If everything is working, you'll get a screen to show you that the monitor is ready to go!
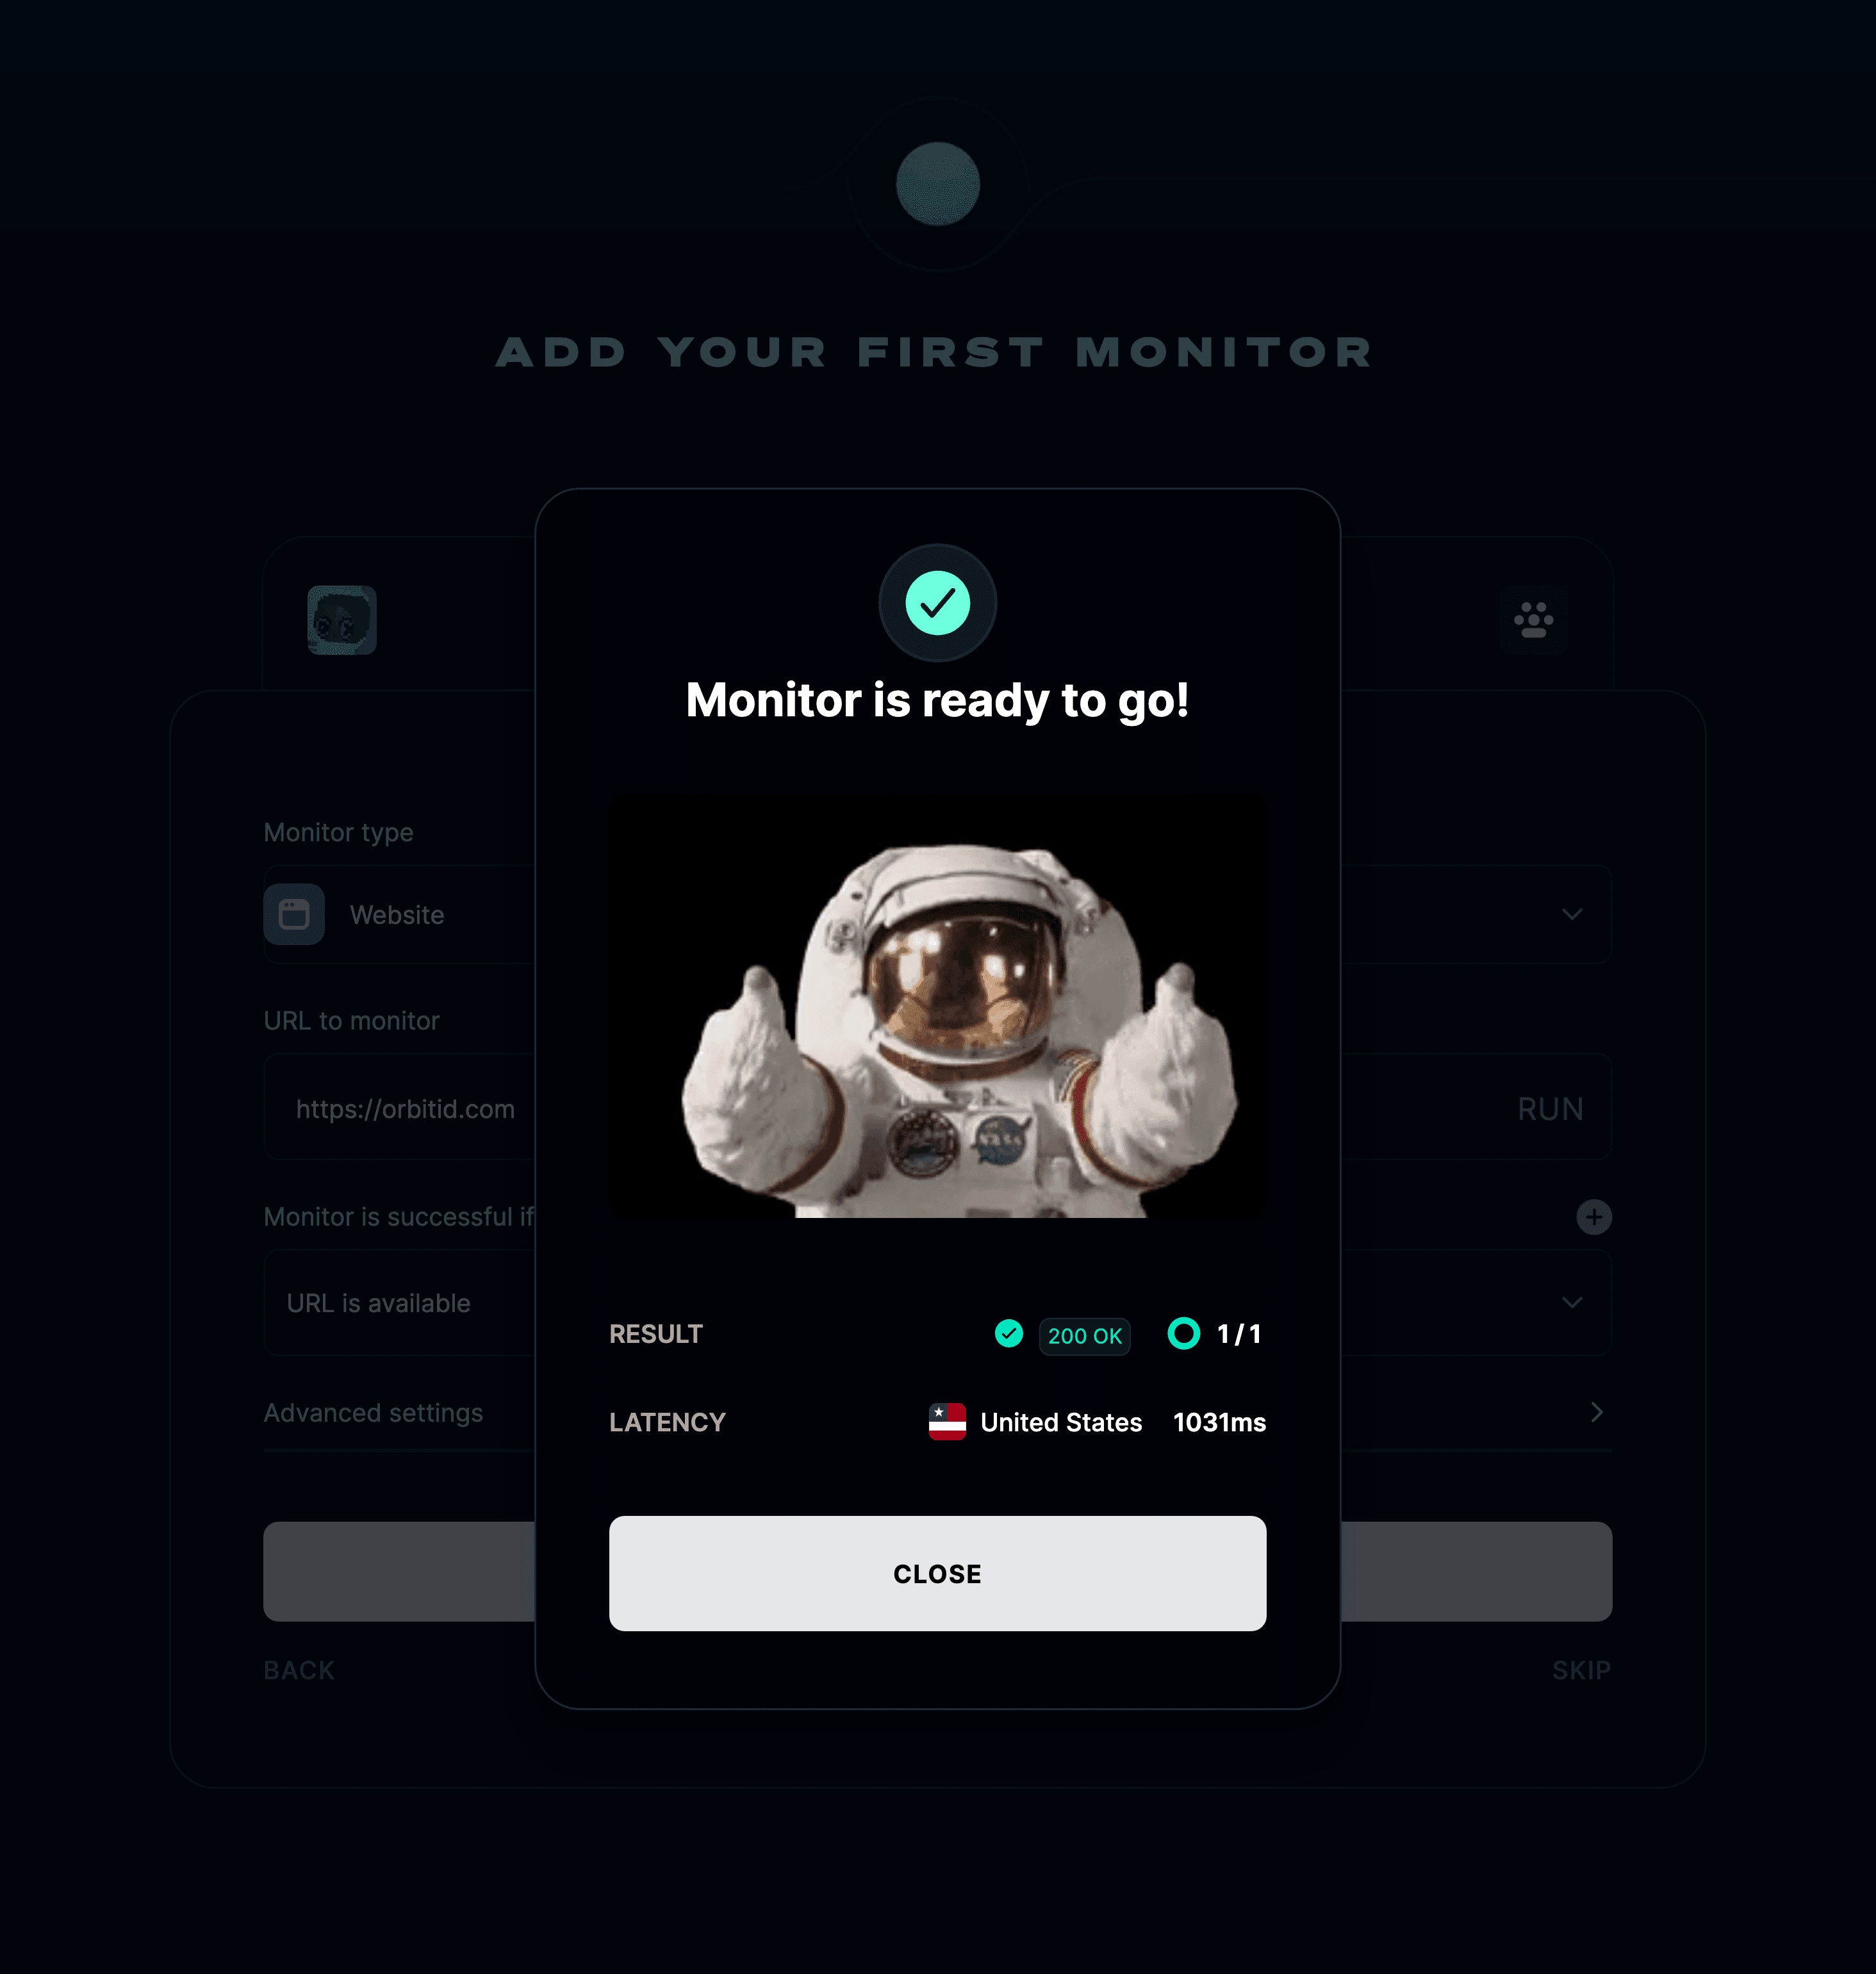
Click Add monitor and it joins your list.
2. Add a test incident
Next, let's add a test incident. You can add a title, description, select affected components, and then click Add test incident!
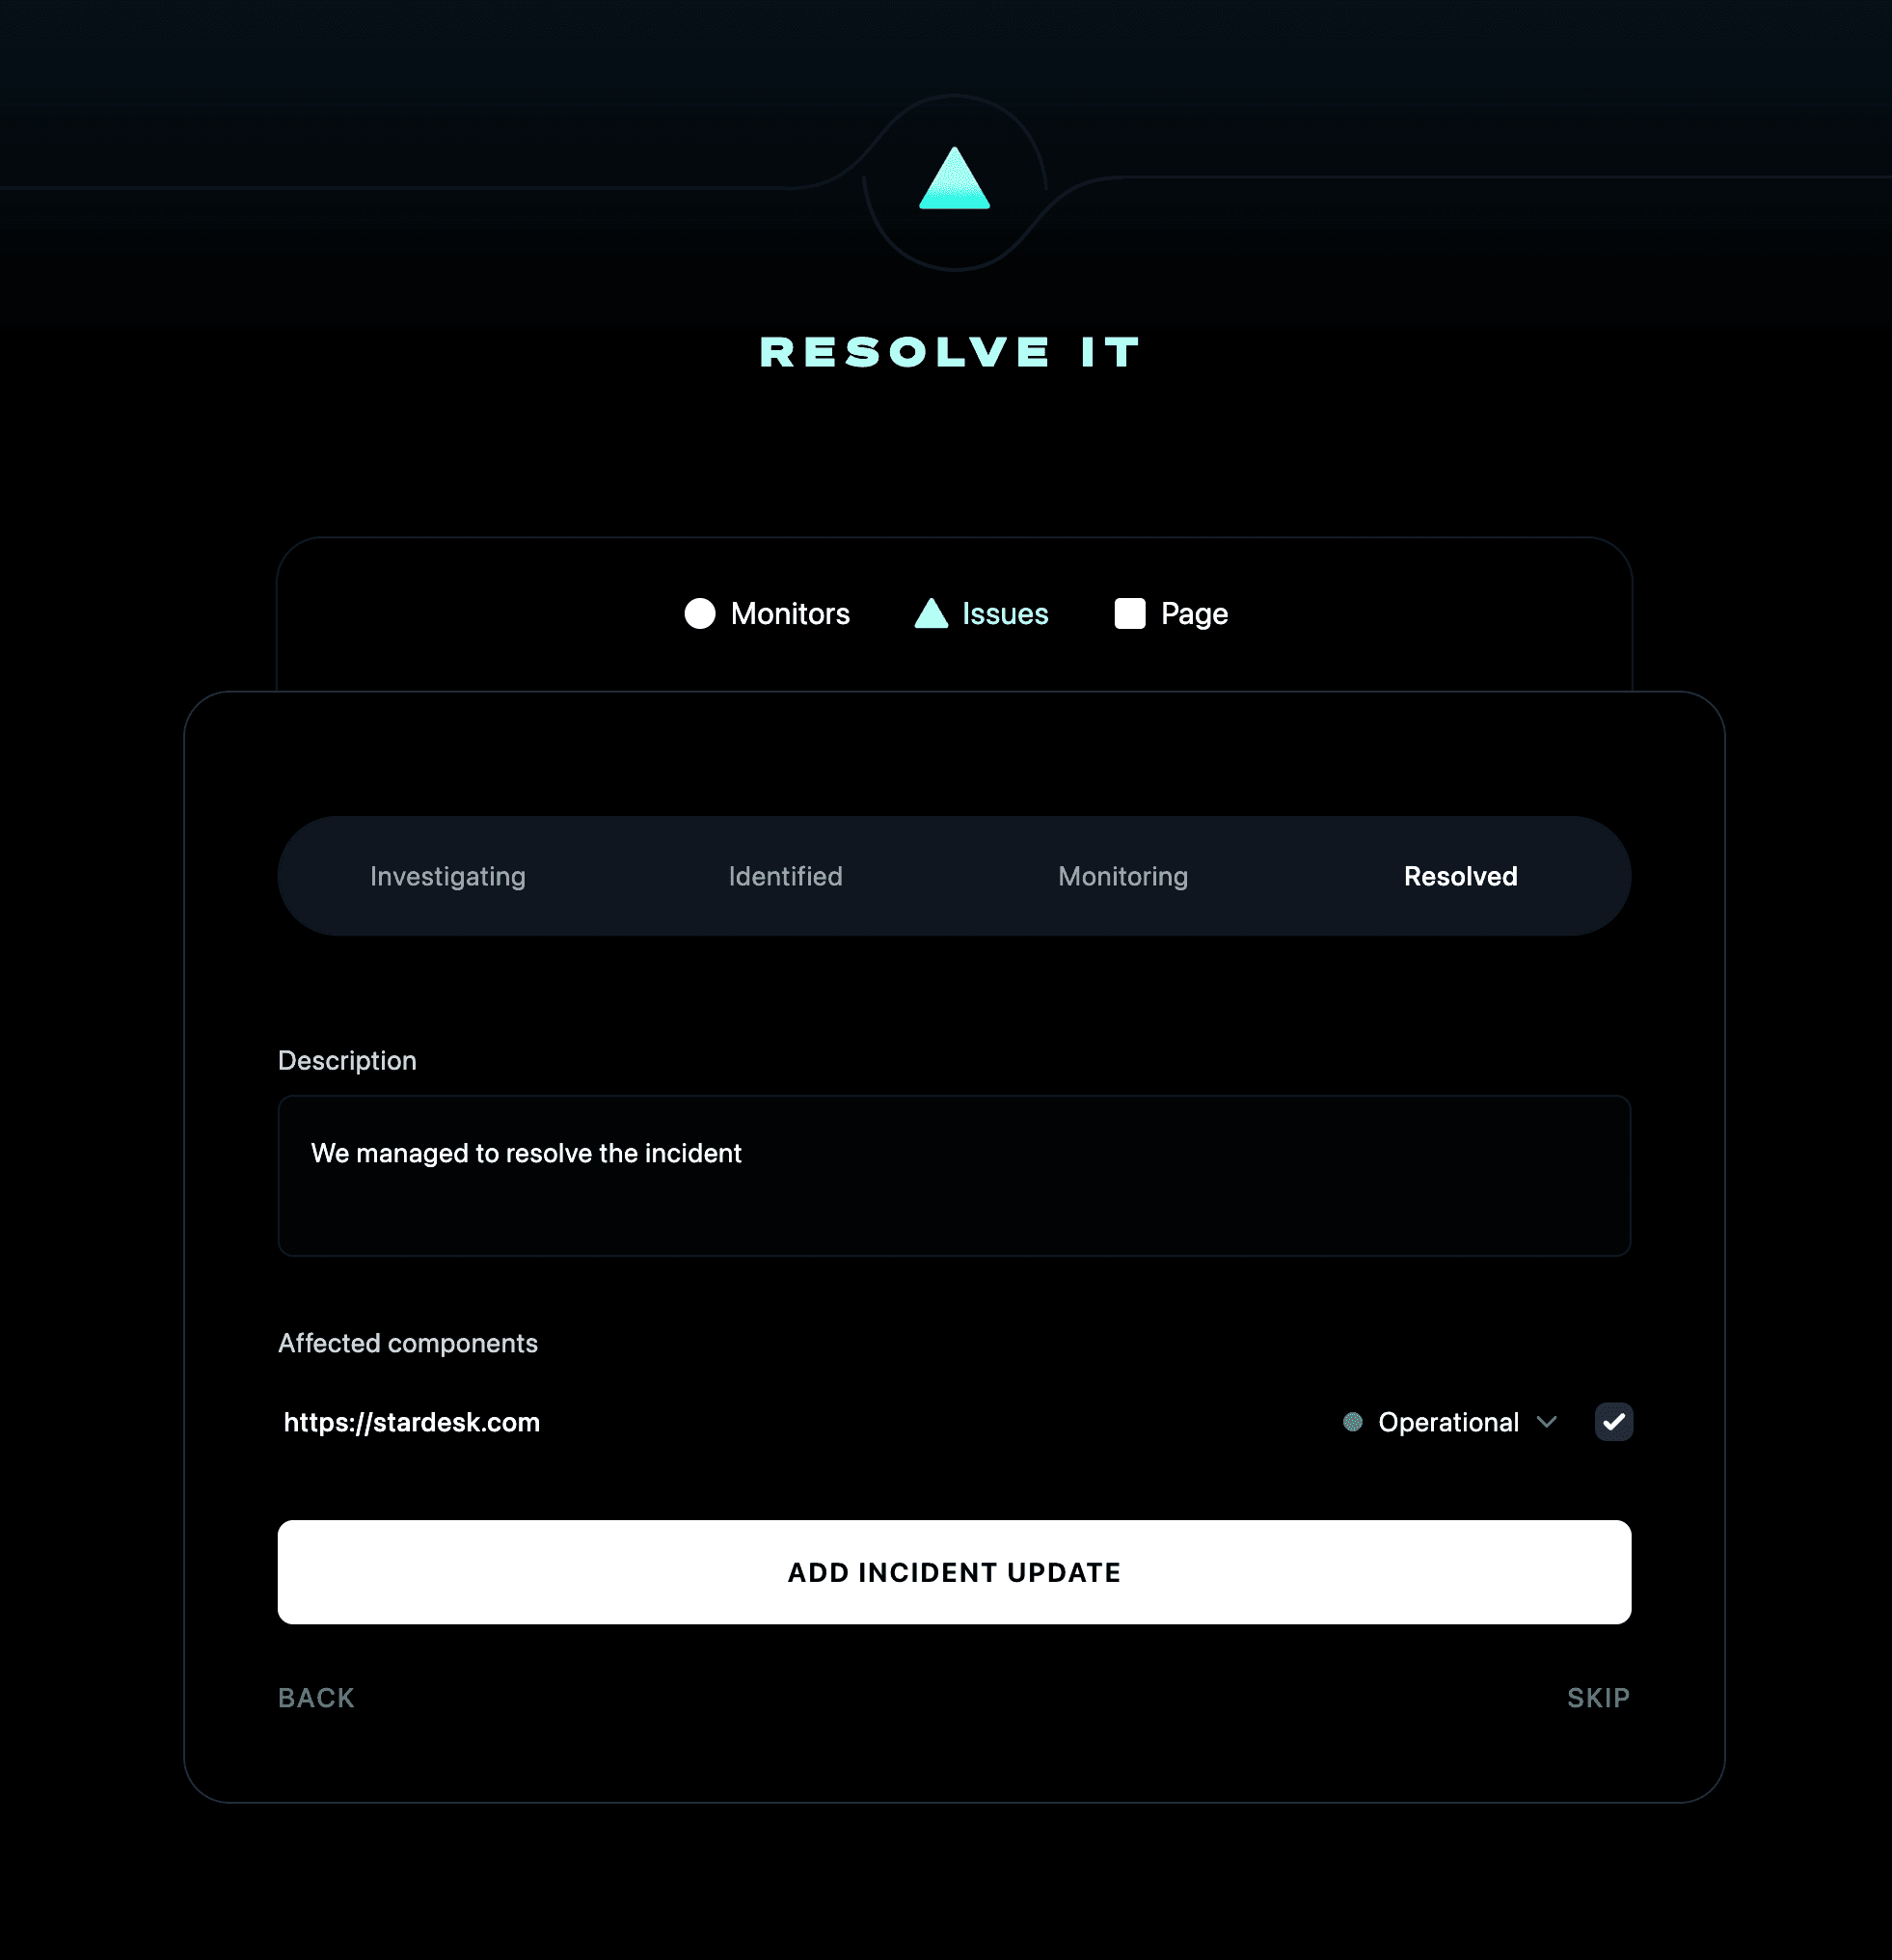
Let's say you were able to resolve the issue, you can resolve the incident by adding a new update.
3. Set up your status page
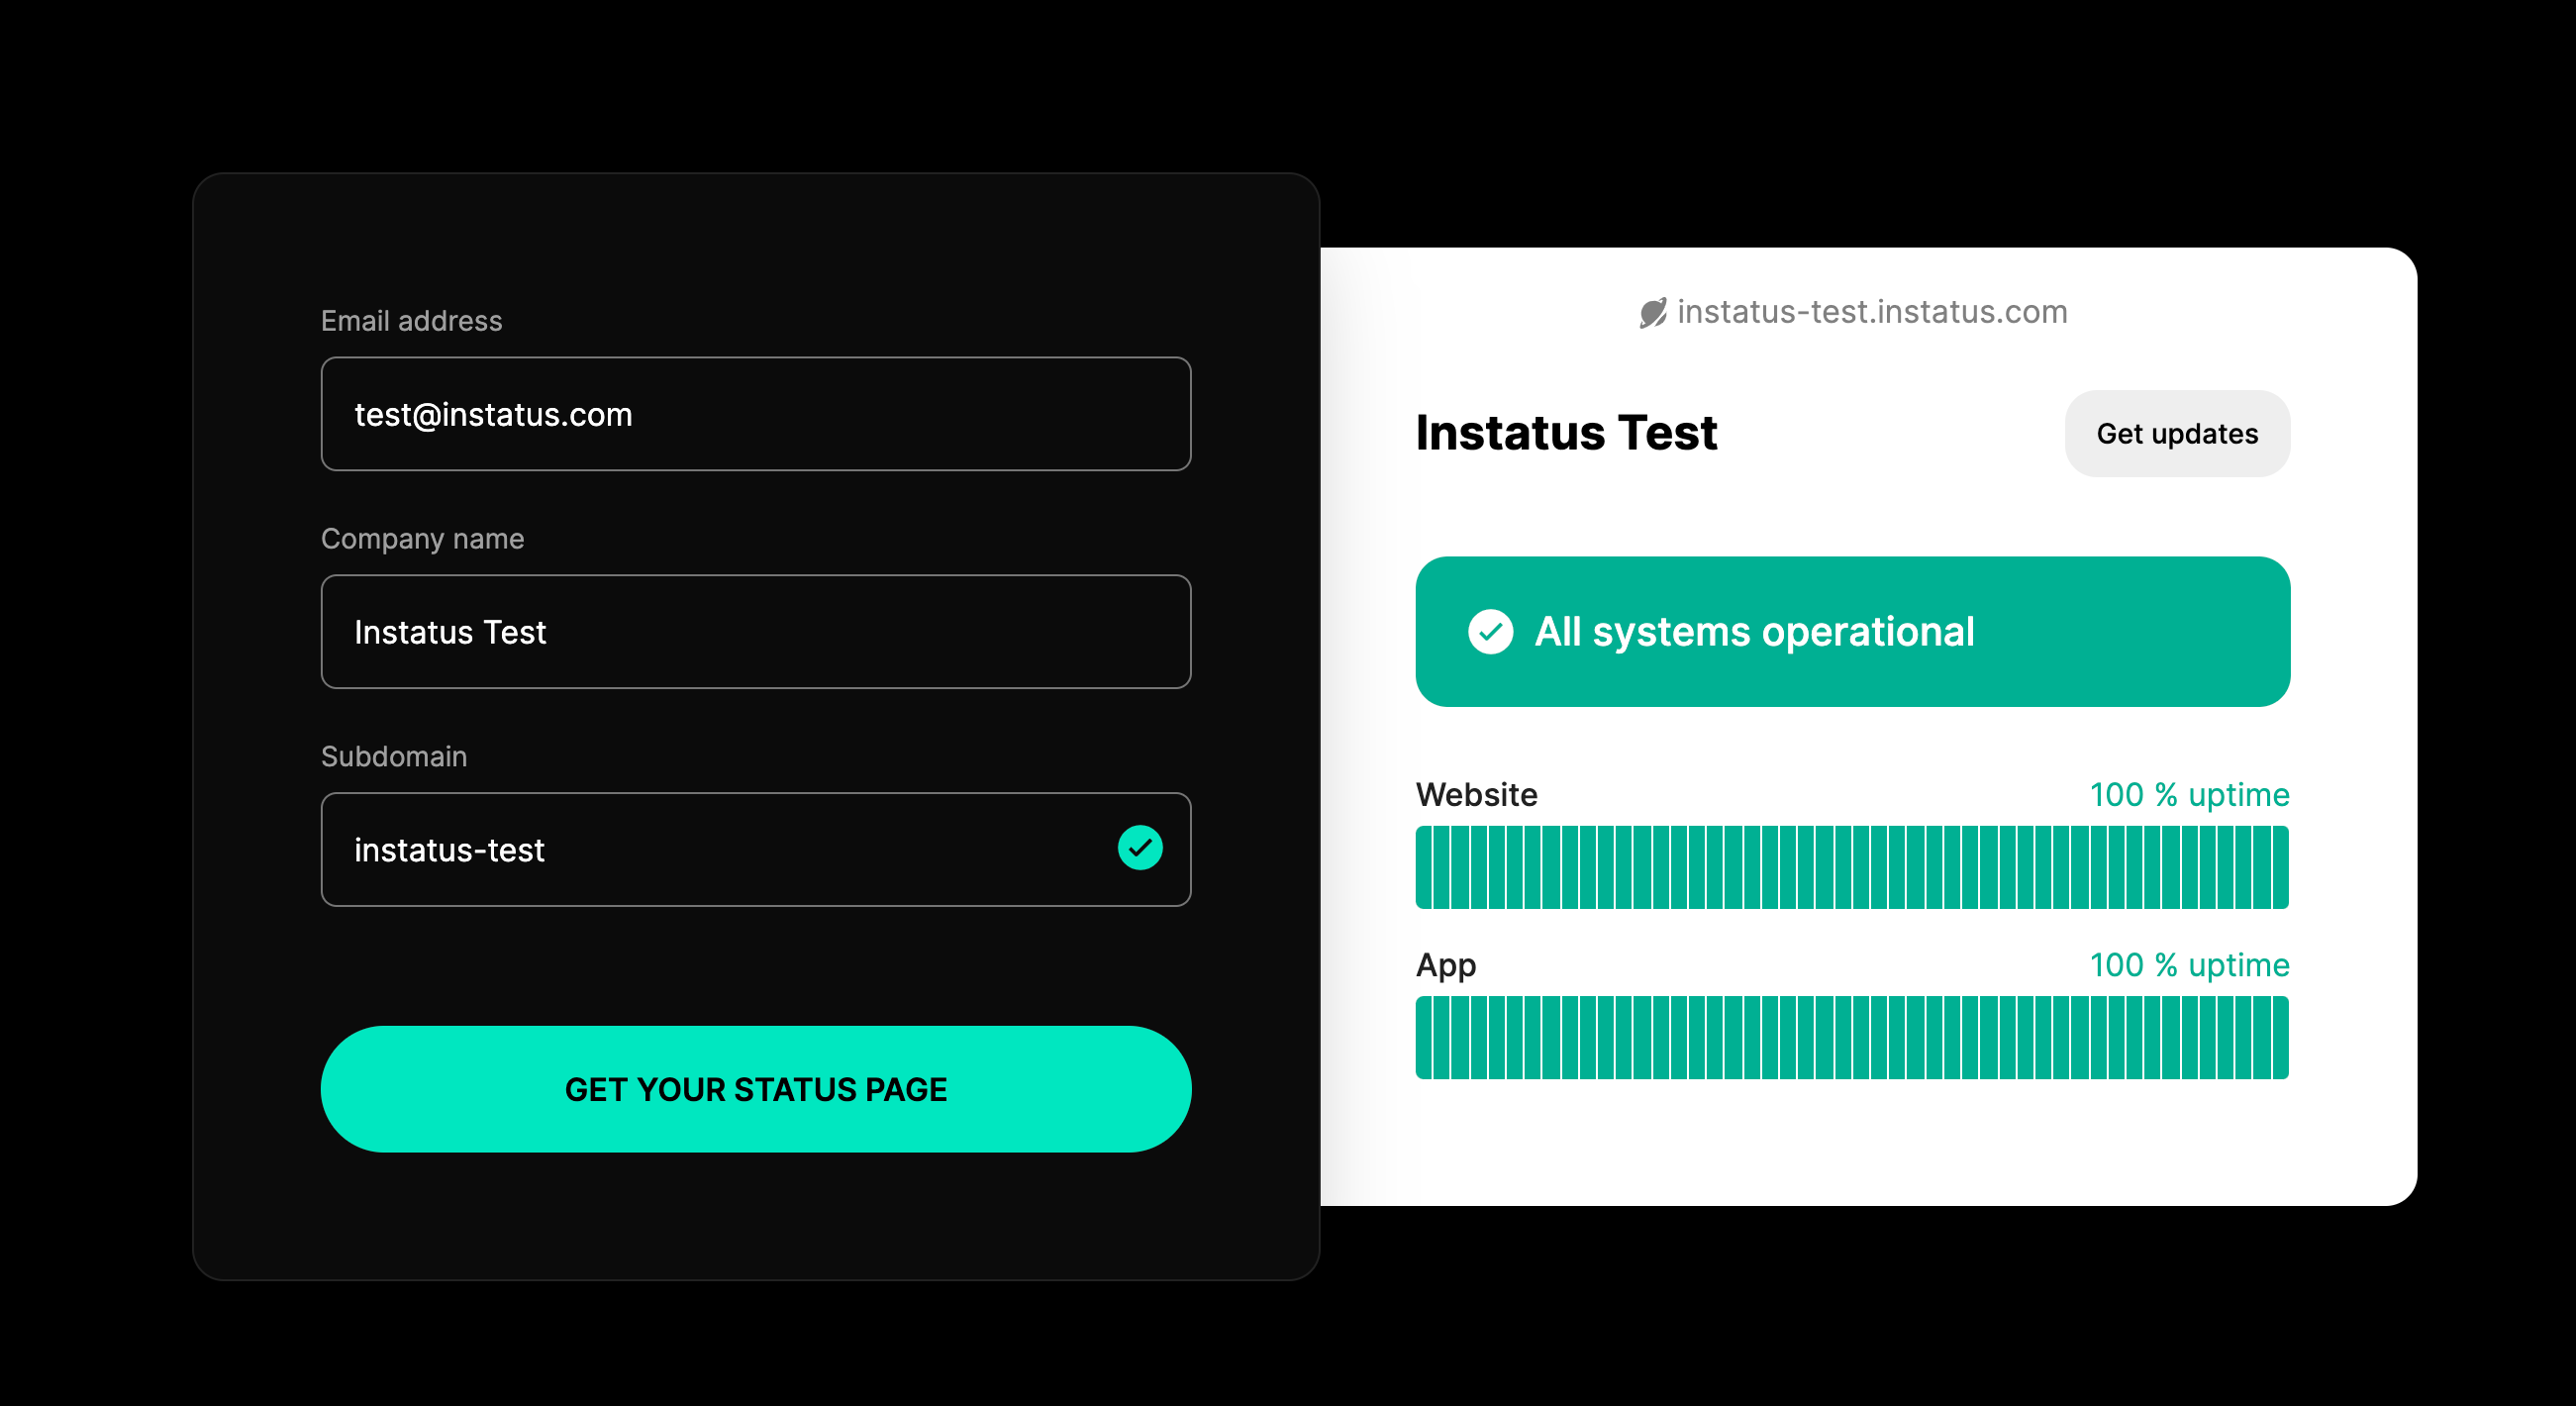
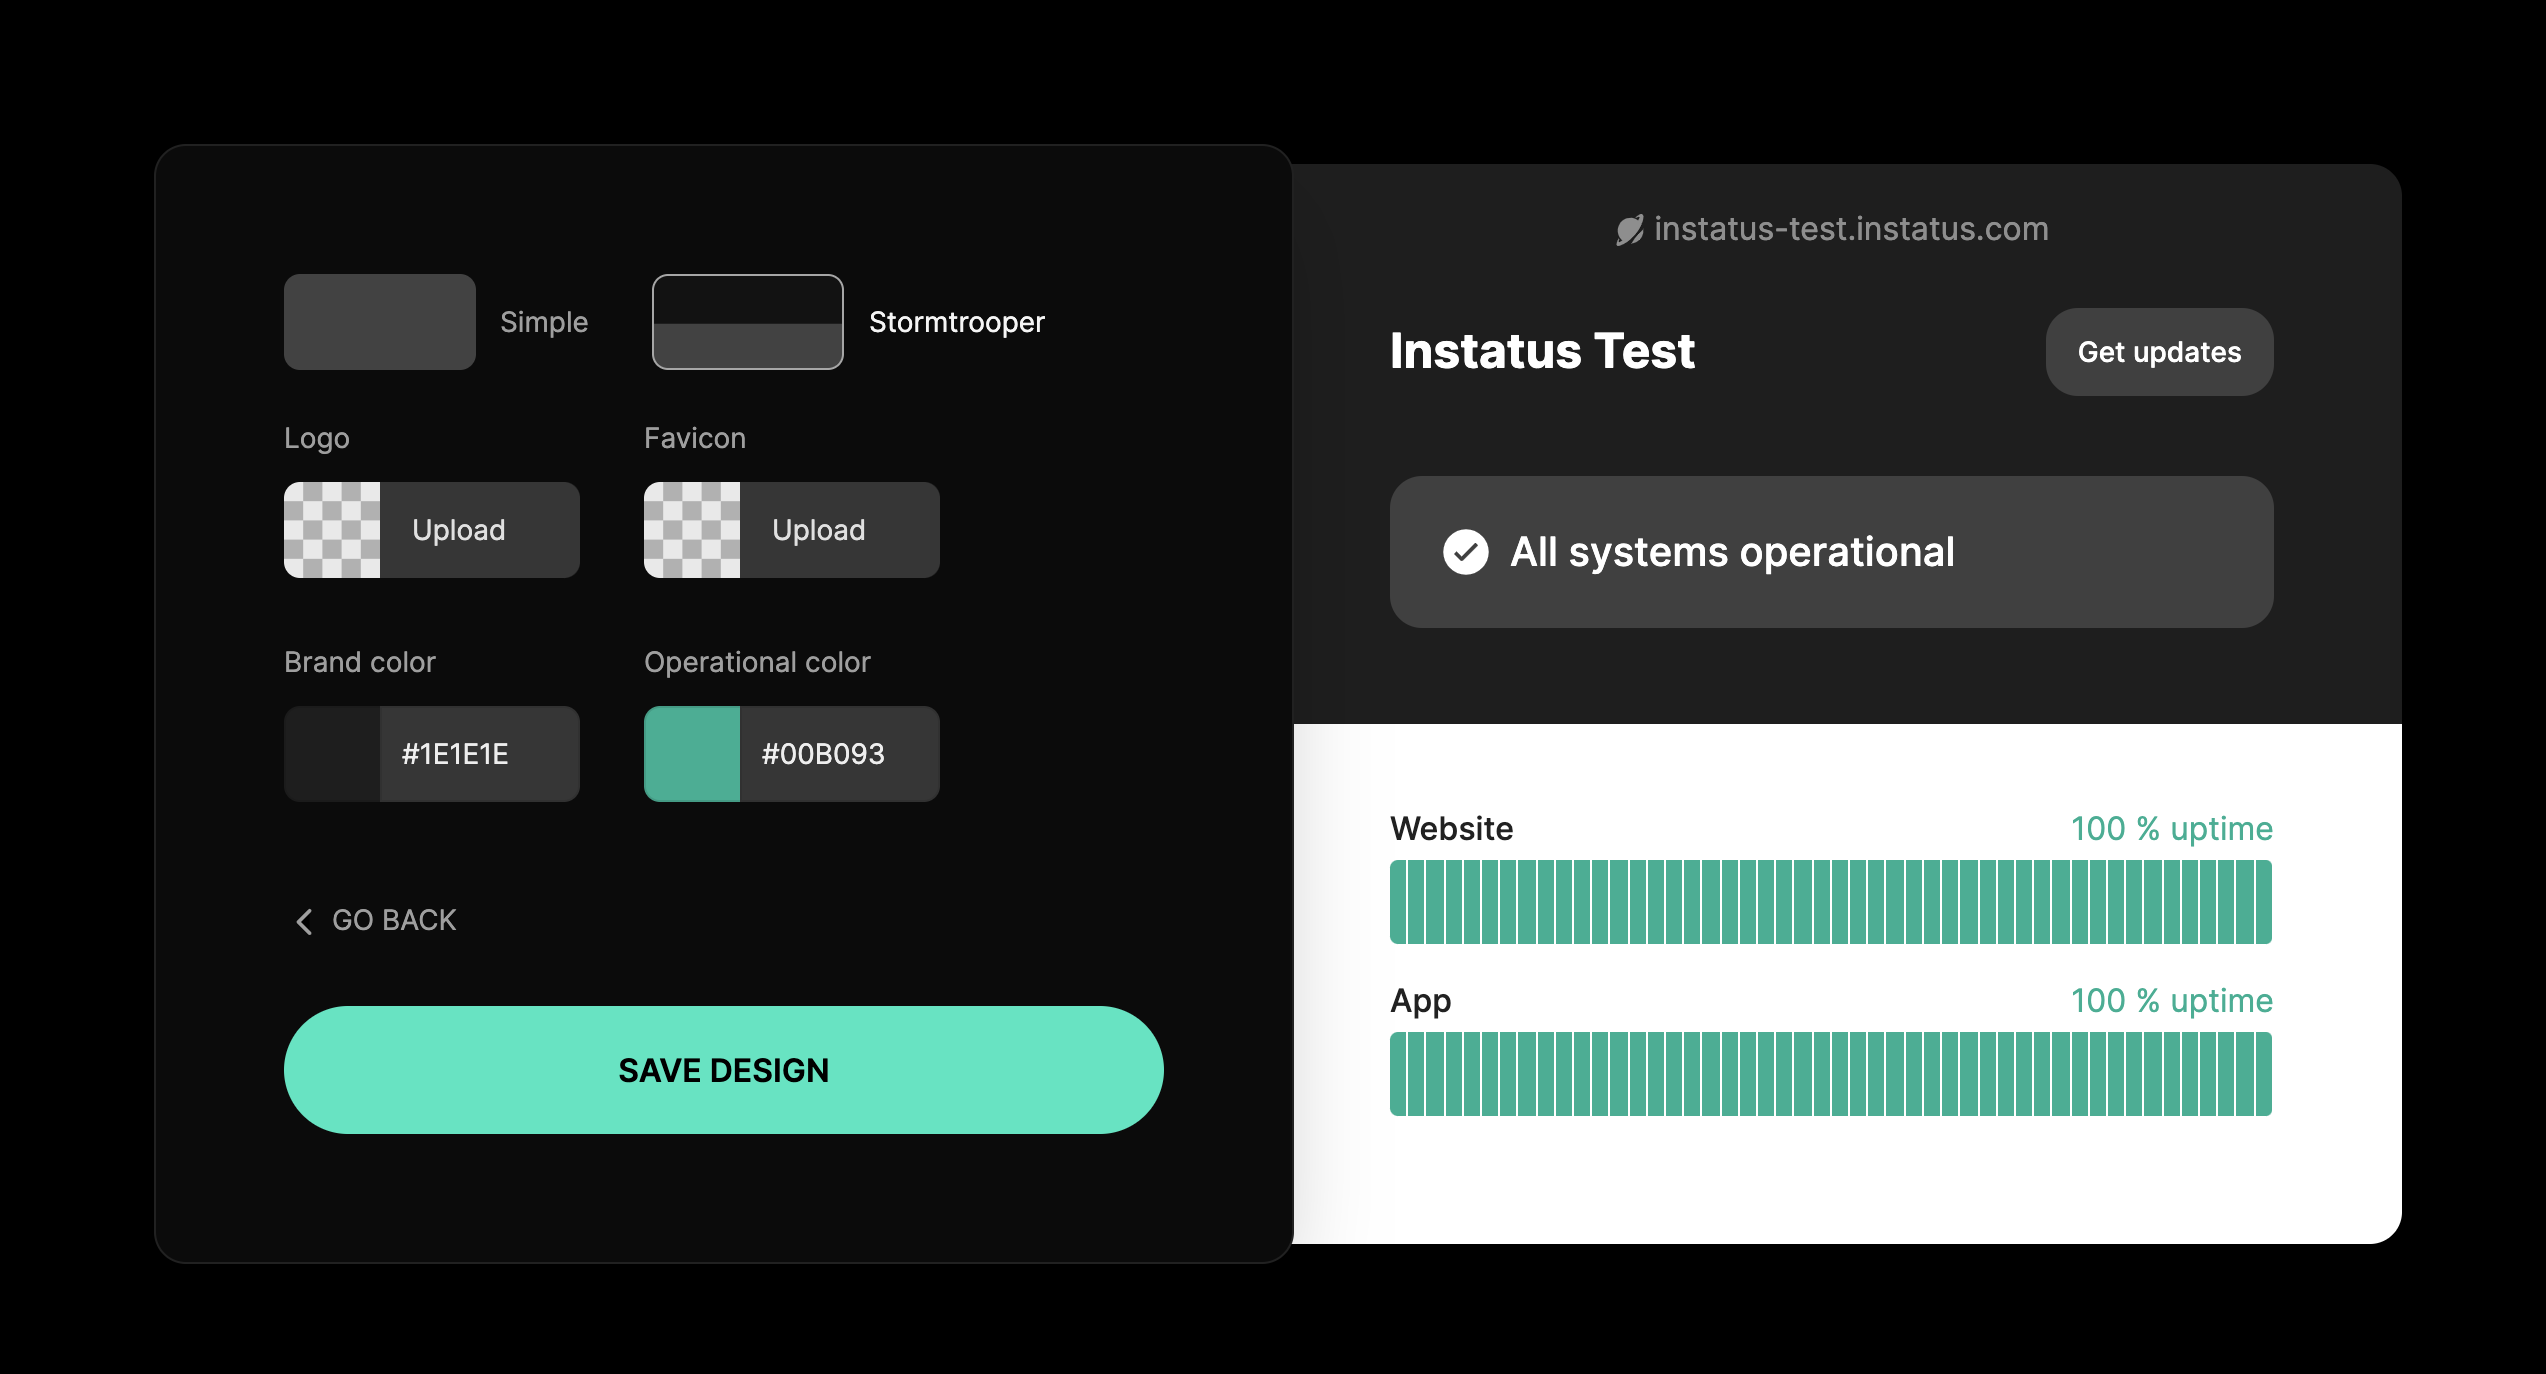
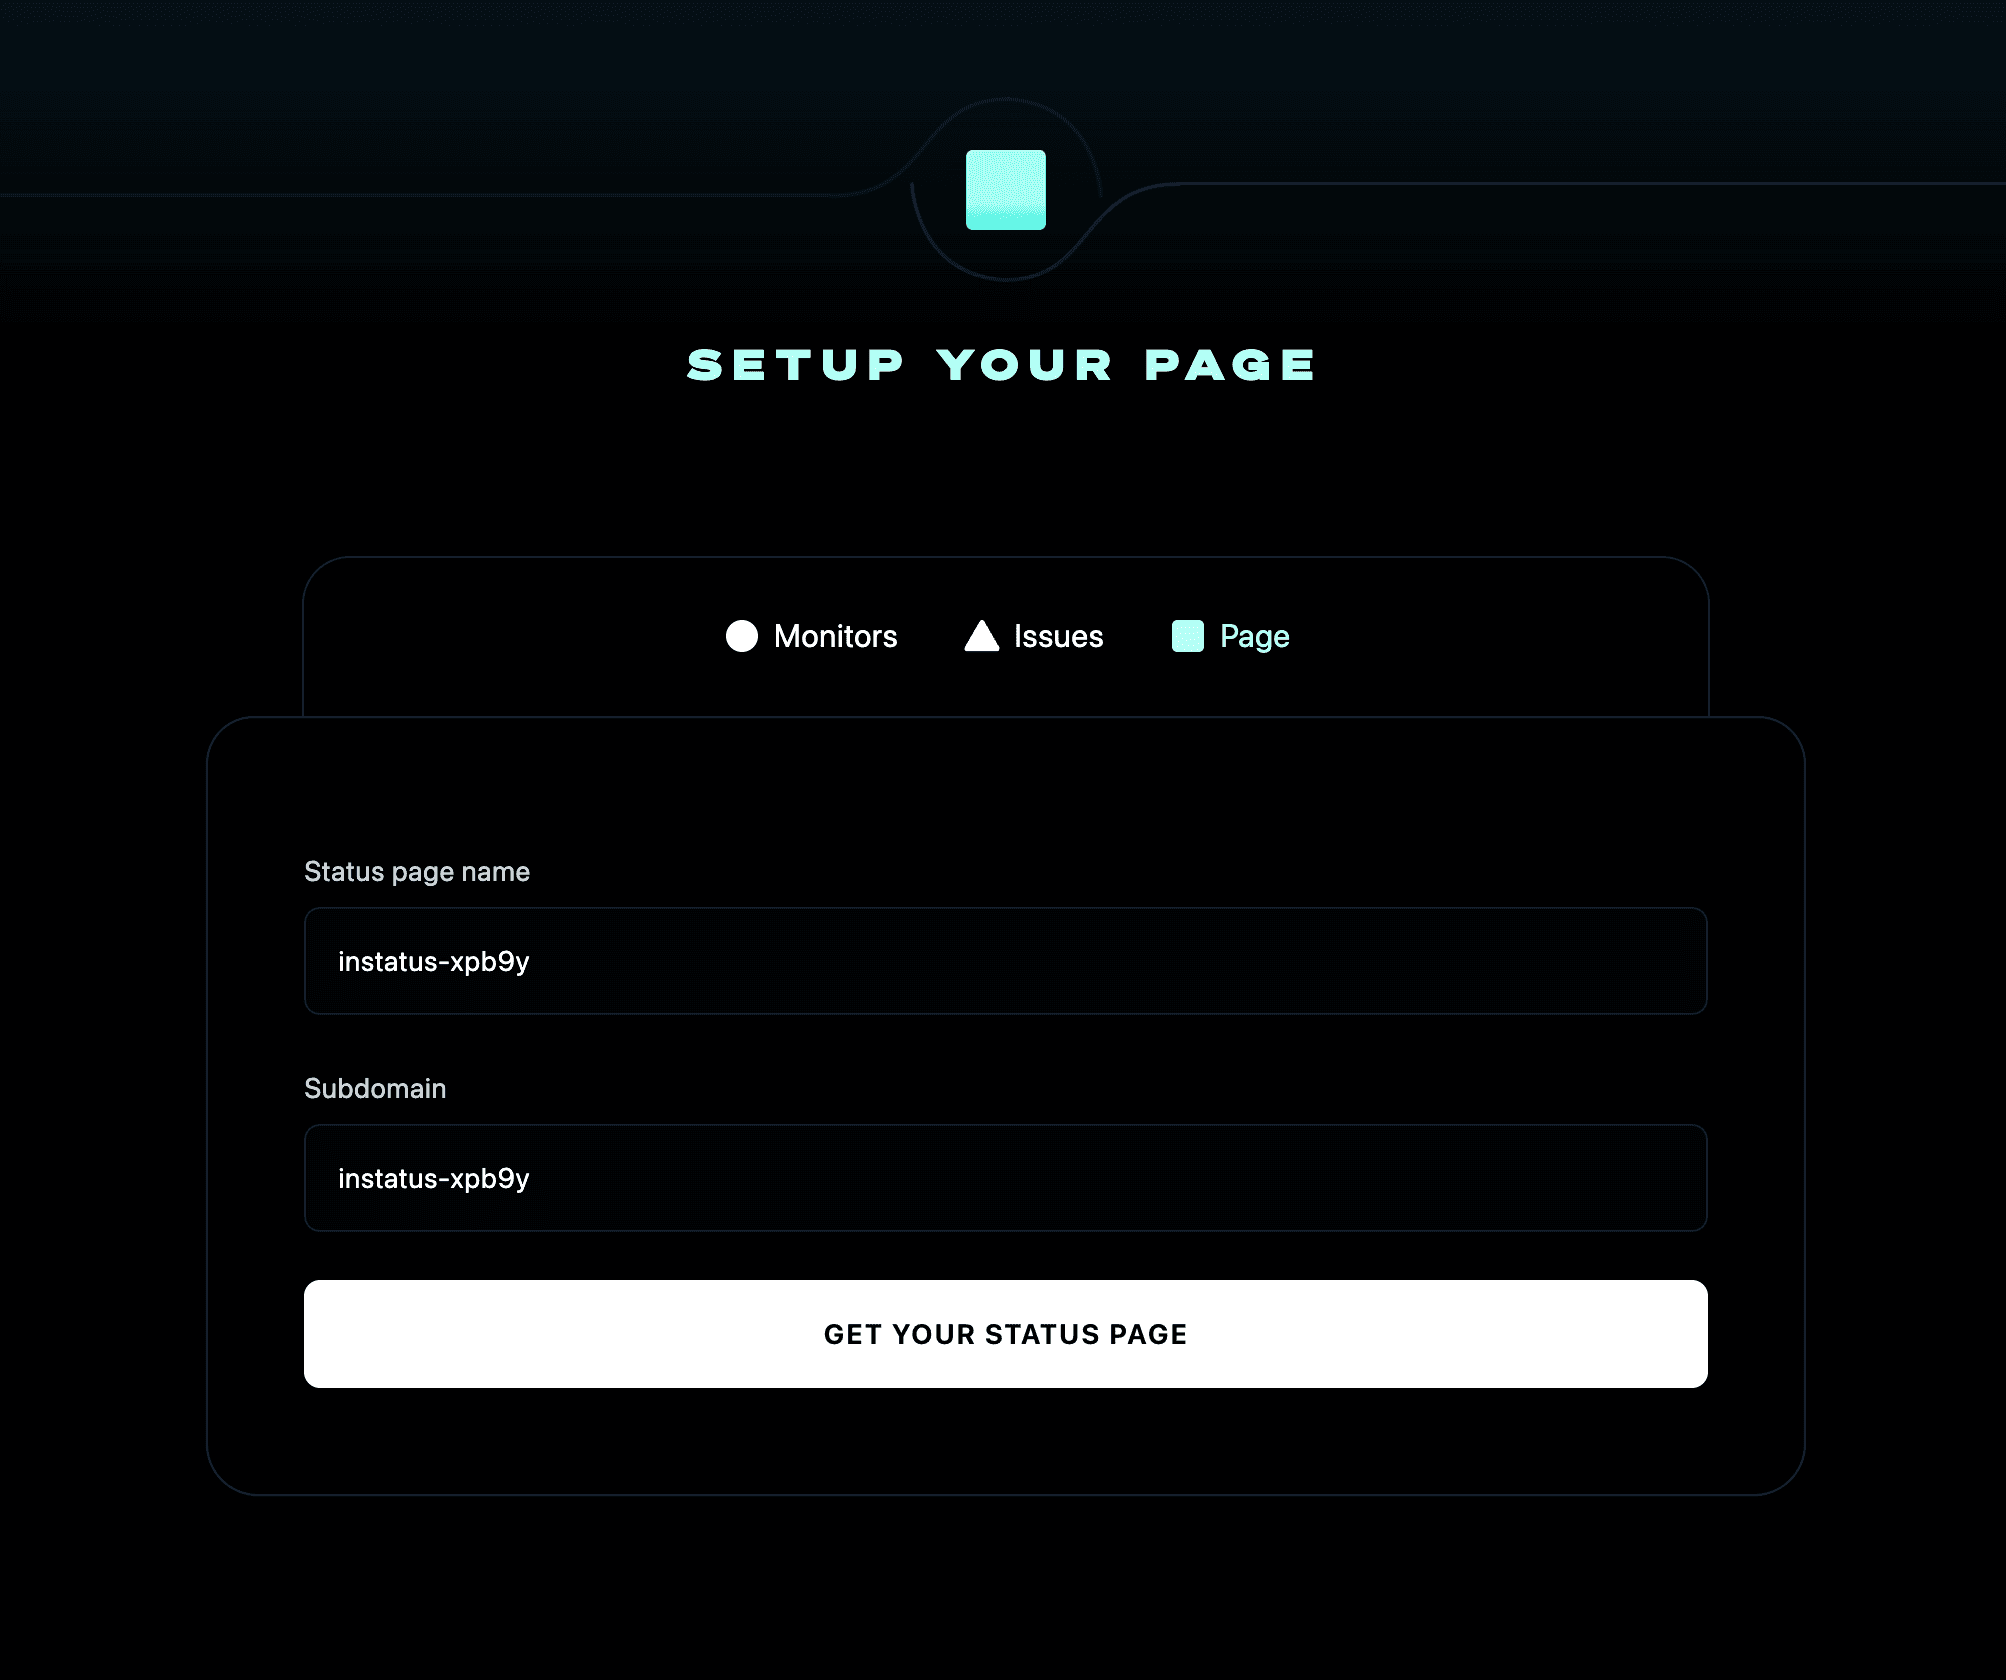
Now you can enter your status page name and subdomain.
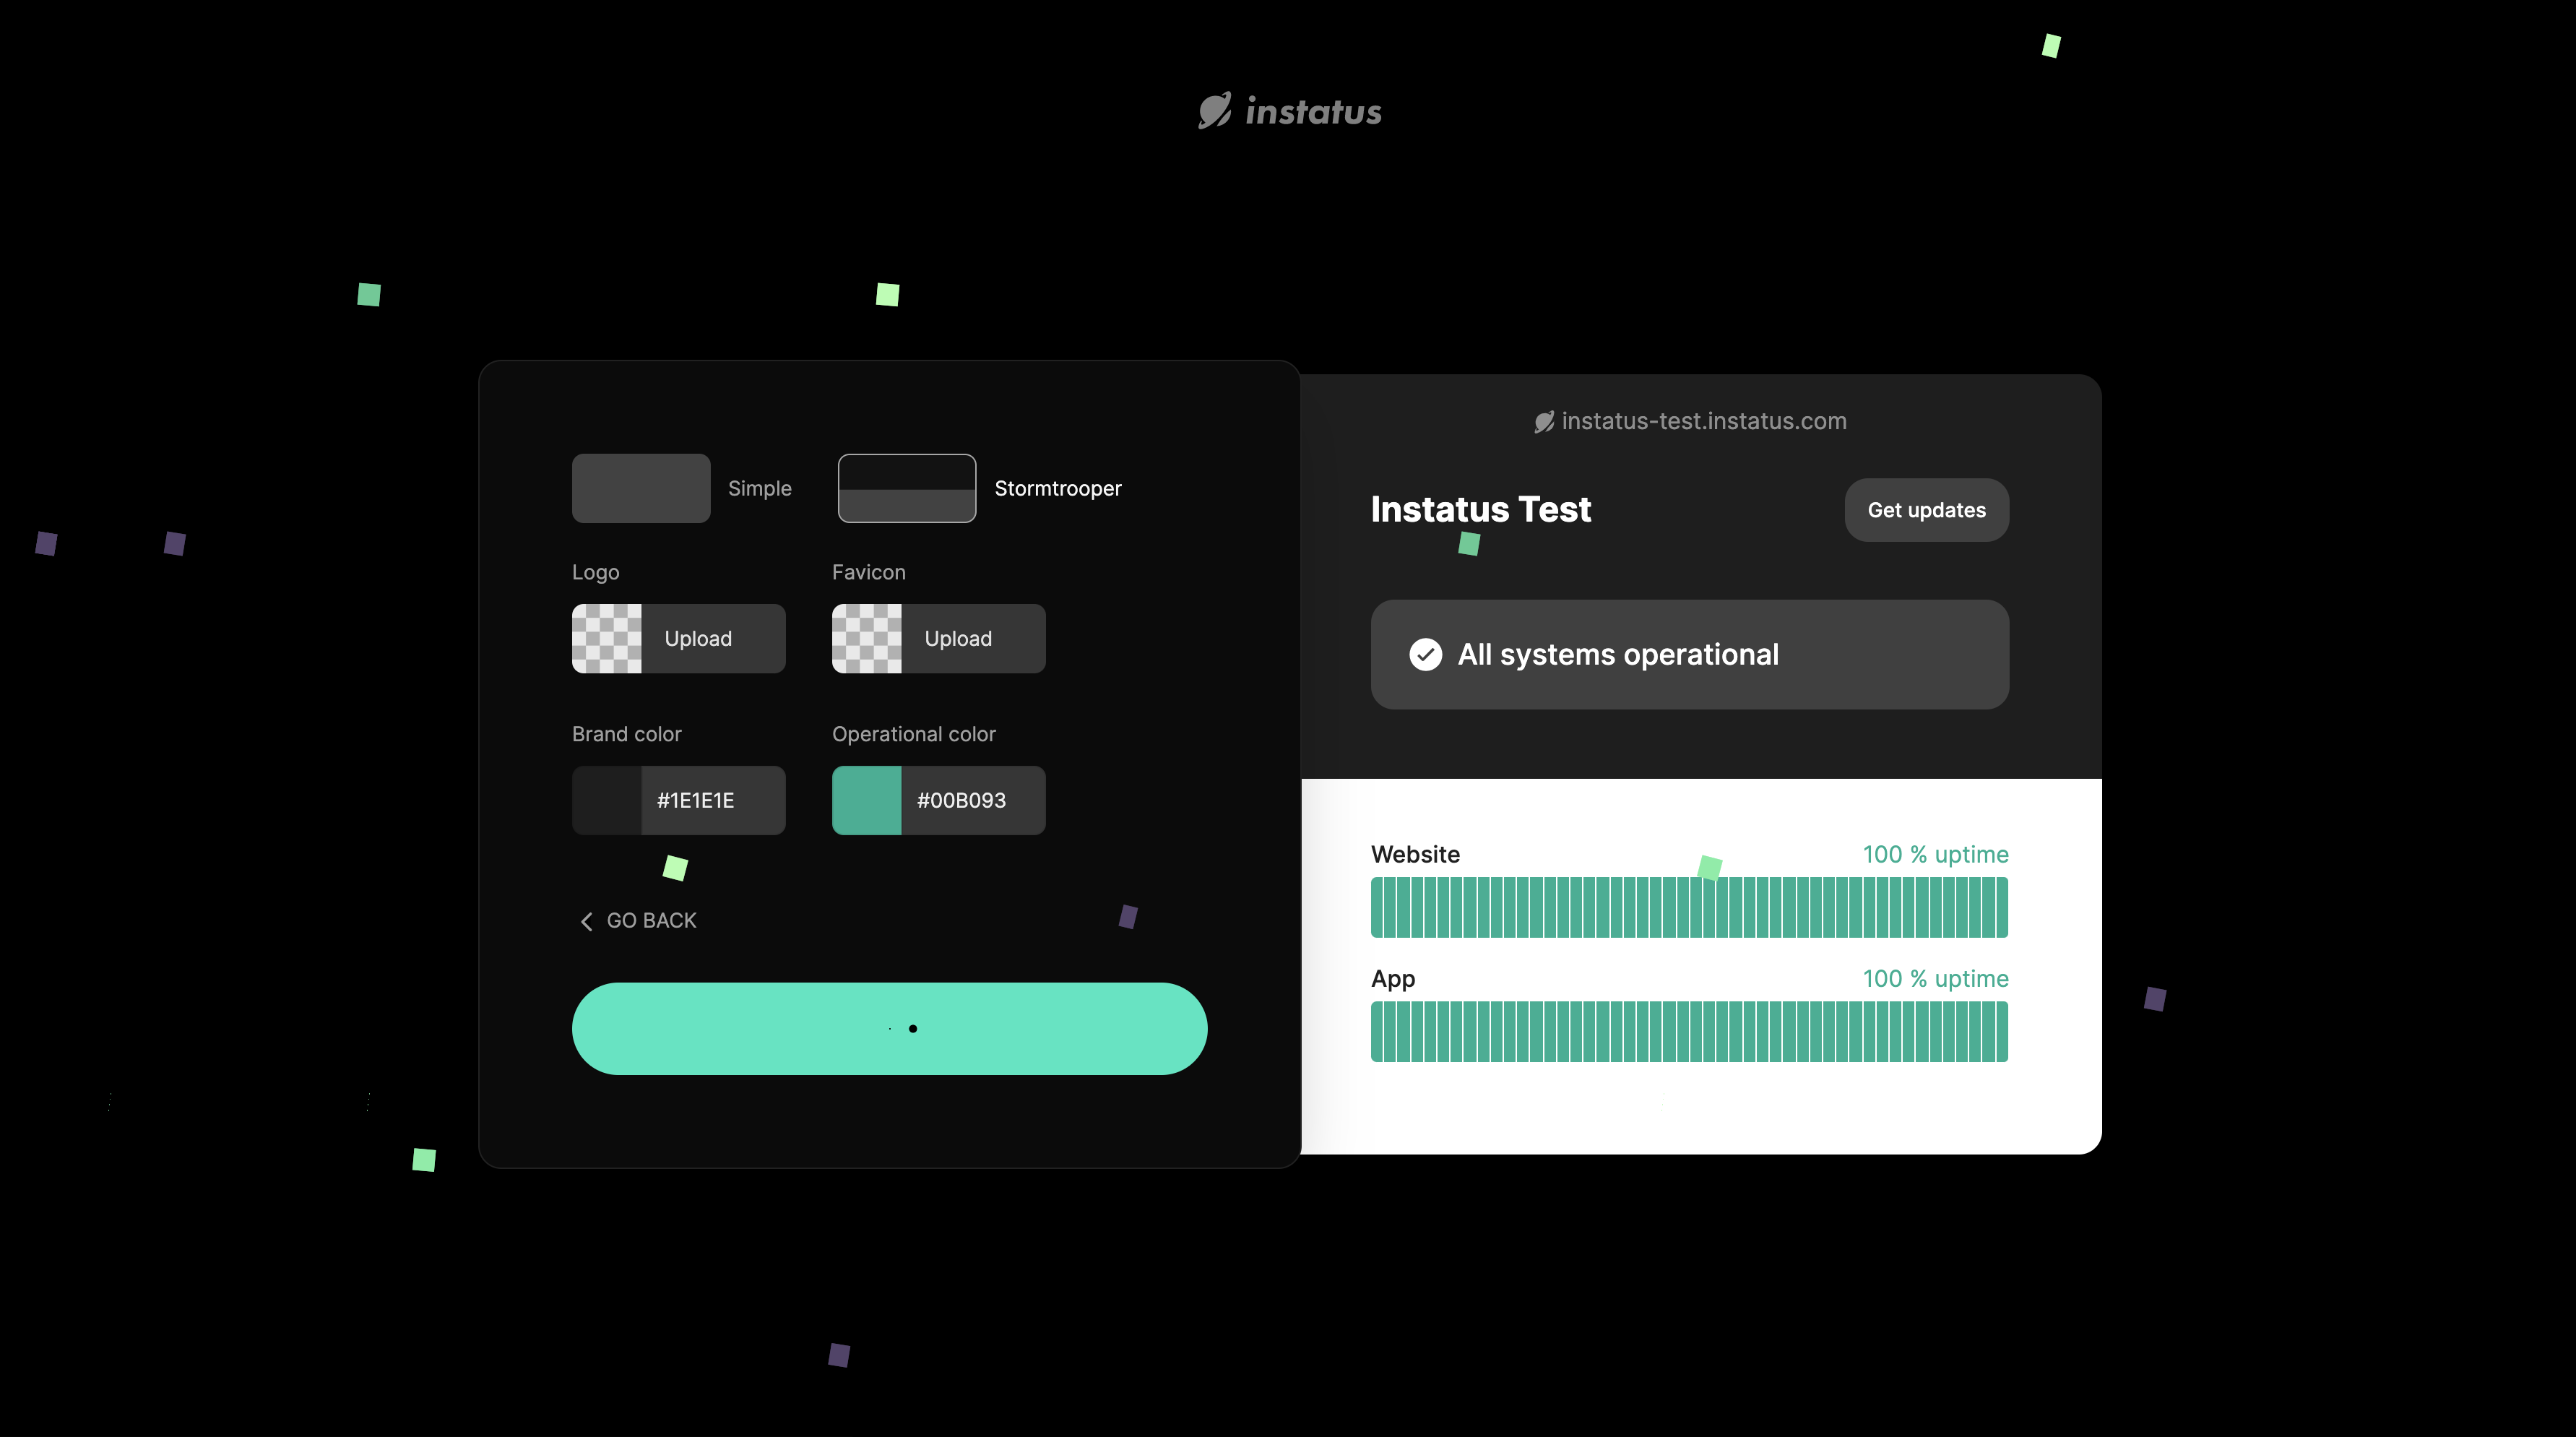
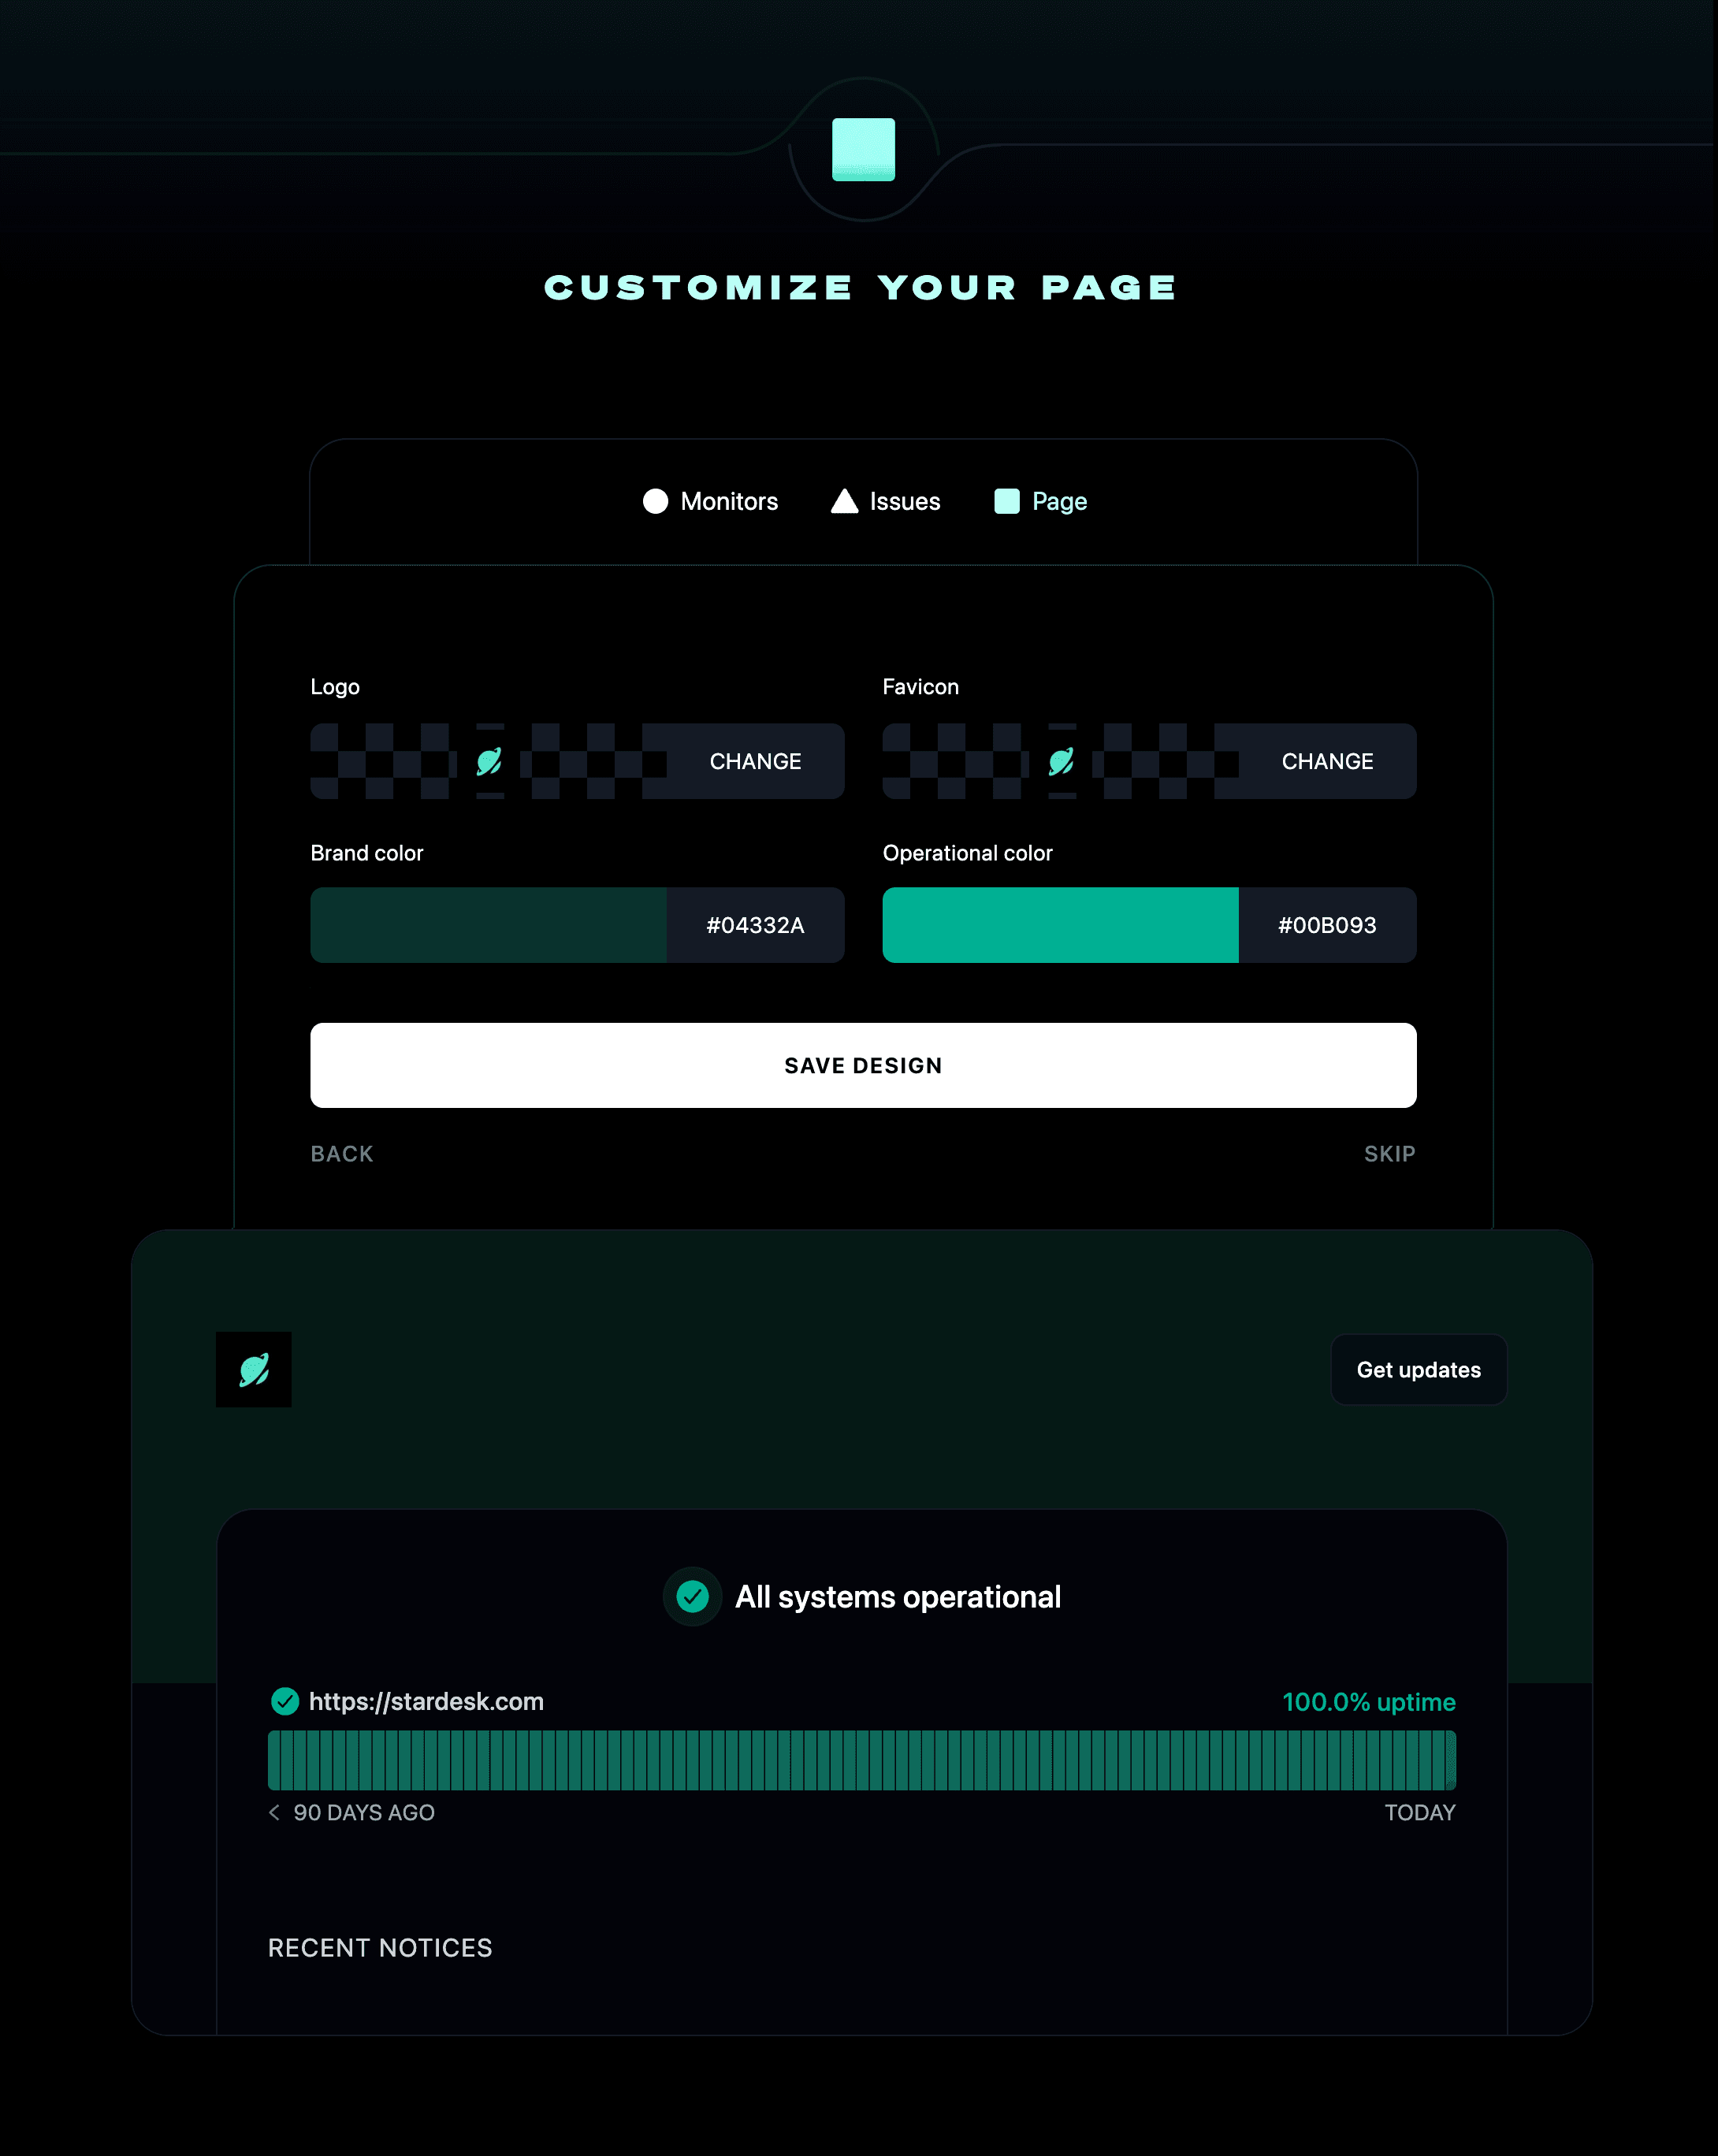
Upload your logo and favicon. Then choose your brand and operational colors.
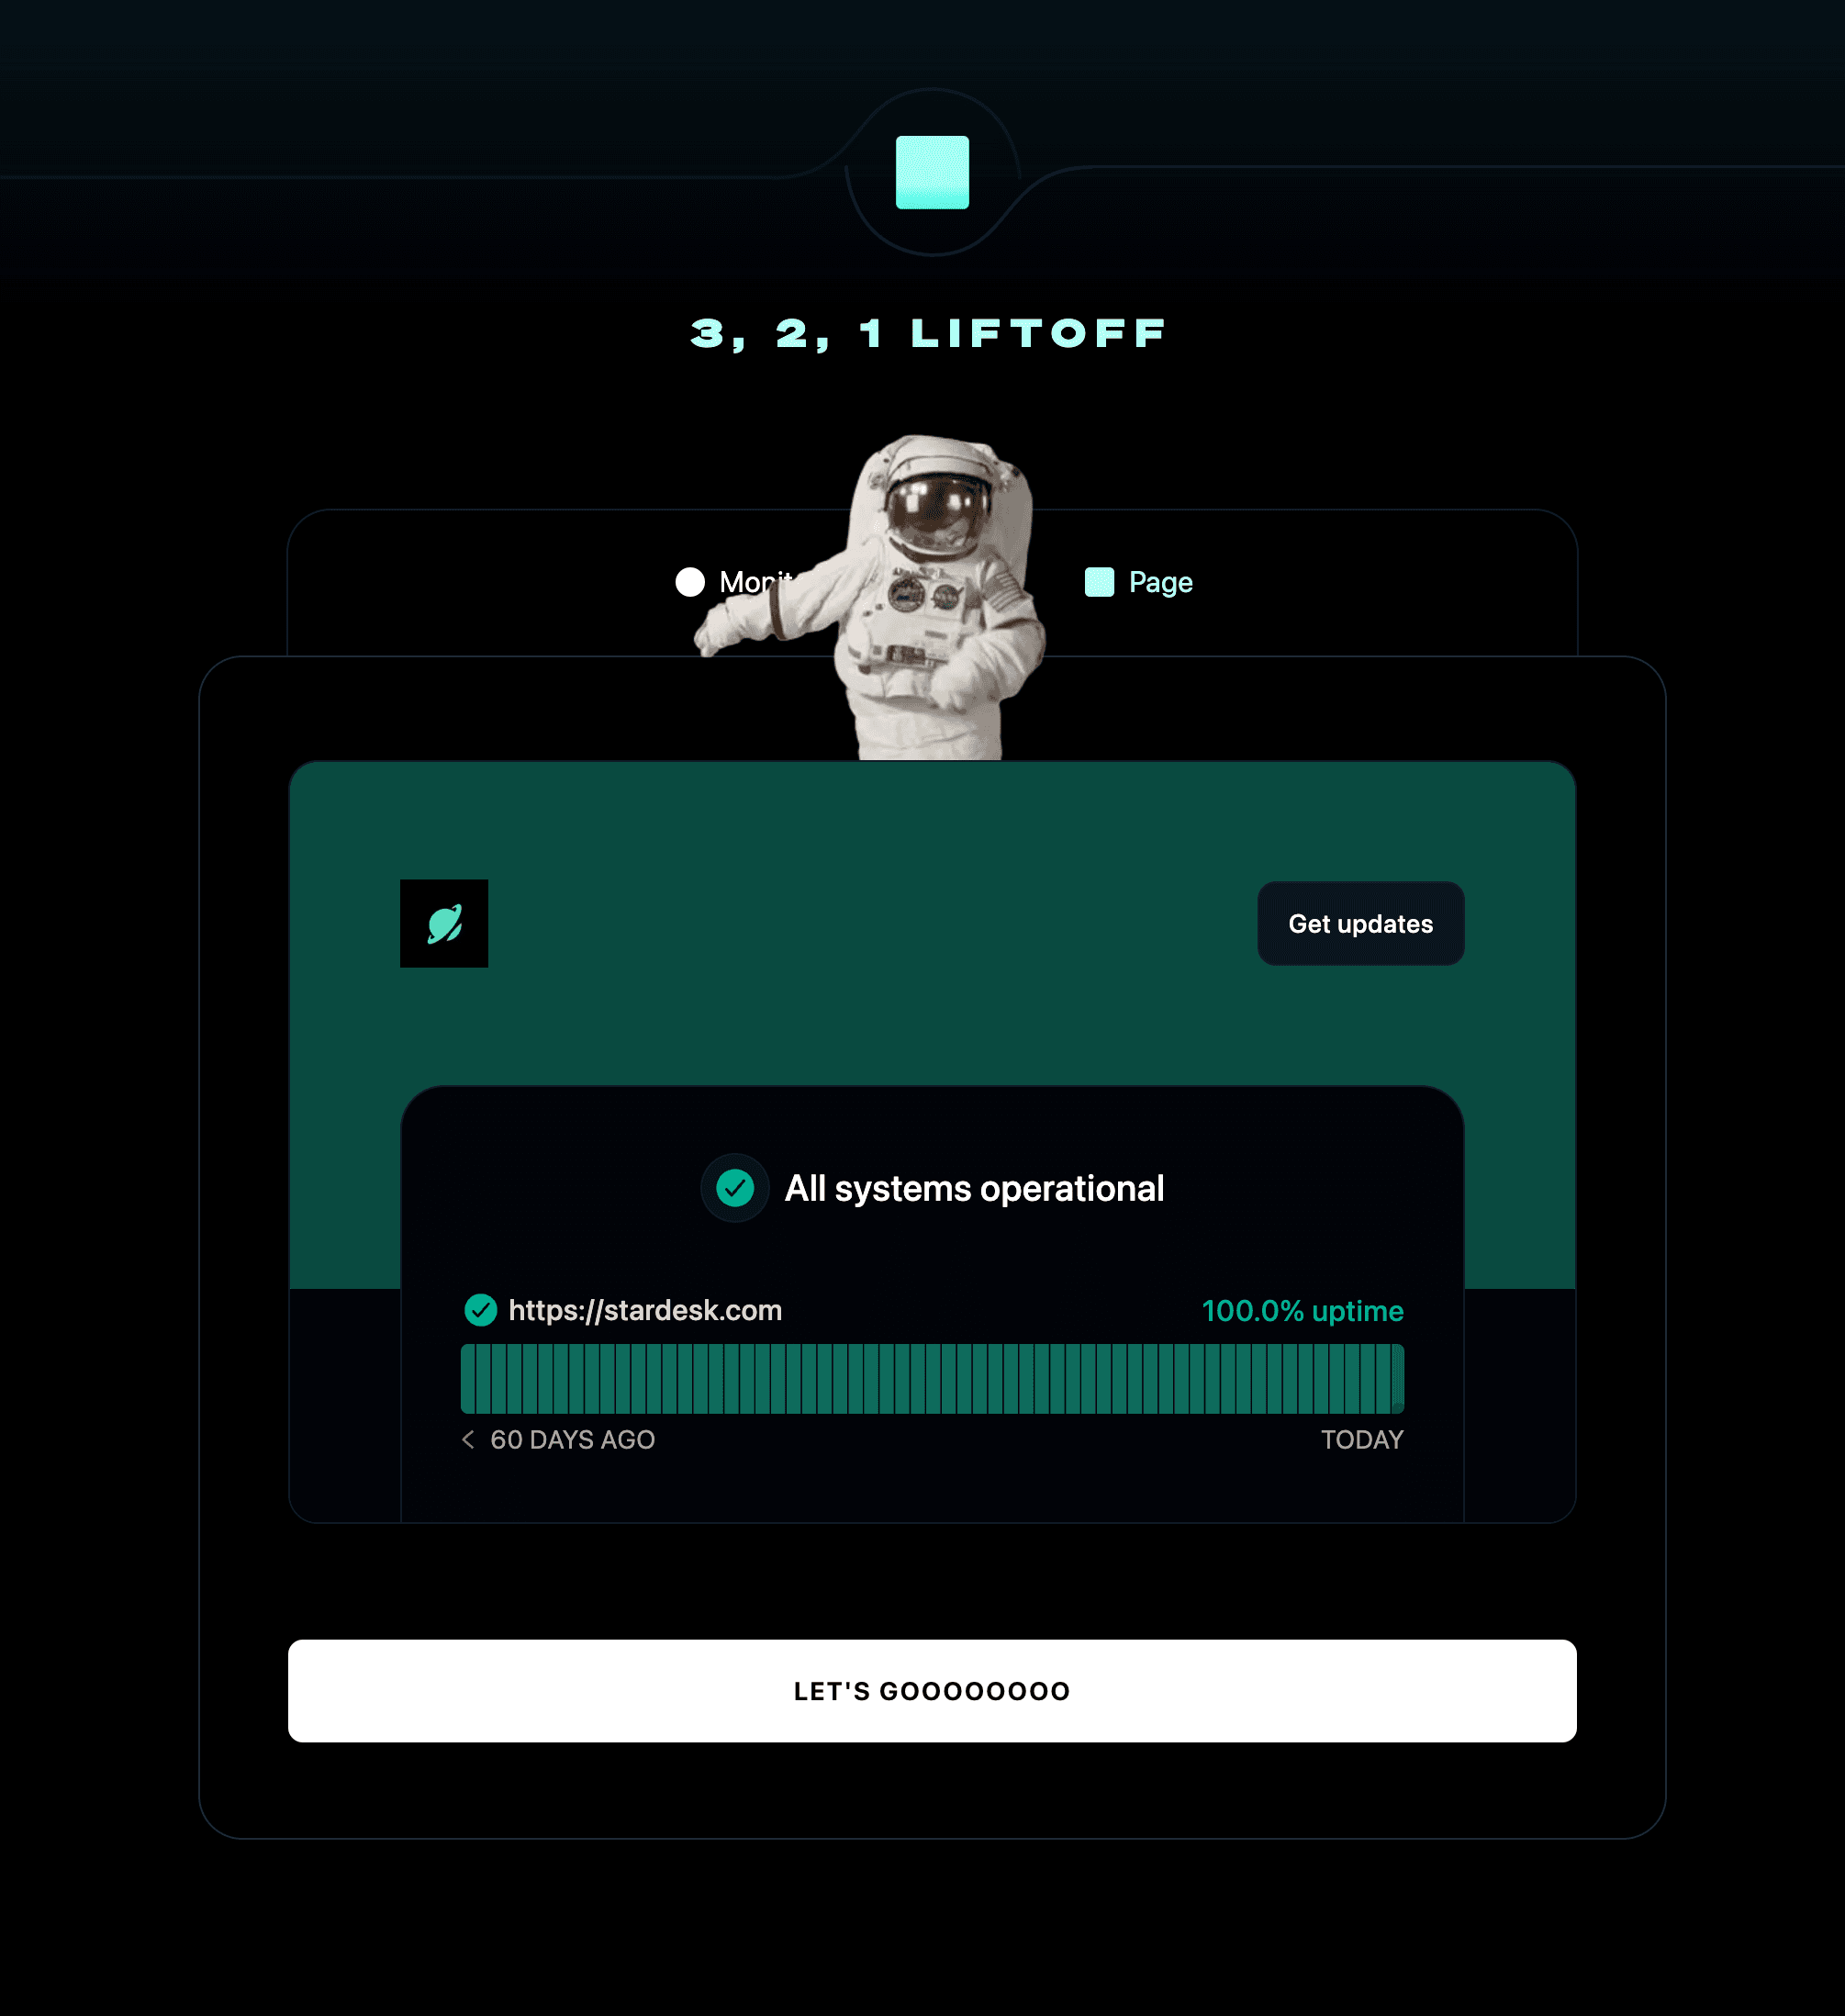
3, 2, 1 liftoff!
Congratulations! You're now ready to use Instatus.
You'll now be able to monitor different services, respond to incidents with your team and, communicate your status with your customers.
Jump into a guide: